There are a lot of forum posts trashing the Boston Acoustic system that comes in the Camaro. Personally, I think it’s pretty good for an OEM system. Distortion at high volume (22 for me) is minimal, good sound range and clarity (maybe a hint of muddiness) and I love that they nailed the sound staging- the music comes from right in front of you. The one major element that the BA system lacks is bass.
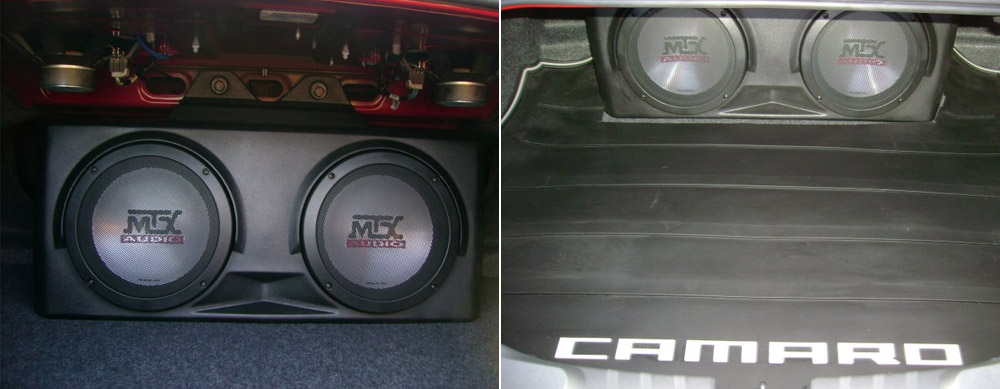
Chevy offers an OEM subwoofer solution. I checked out their subwoofer but I didn’t feel like it was a good fit for me. I confess that I’m not a big MTX fan and I wasn’t impressed with the specs (200 watts for two 10″ subs isn’t enough for me). I also didn’t like the placement of the MTX sub box (right behind the rear seats- you lose the pass through). Here is a picture of the installed box. It’s really not bad looking at all, but it wasn’t what I wanted. And at $1145 installed I was certain I could put together something that would work better for me.
In the end I decided to go with a JL Audio 10W7AE, a JL Audio JX1000/1D Amplifier and a sub box from subthumb (& their custom Camaro RCA Output T-Harness).
I picked the 10W7 because I have a 10W6 in the Vette and wanted something that could hit the deeper notes with a little more power. I briefly considered the 12″ JL Audio sub but, in my opinion, the 10″ subs produce tighter bass. The weight & cost were also 12″ sub deterrents.
I got the JX1000 because at 3 ohms it puts out 750 watts RMS (the nominal impedance of the 10W7AE is 3 Ω and it can take 750 watts RMS). Compared to some other amps I looked at it seemed like a good value.
And I went with a subthump.com sub box because they are a killer deal for a custom fitted solution. I had the box cut for a 10W7AE, and it came carpeted (super close match to the OEM grey) and was excellently constructed. In the past I have commissioned and helped build my own sub boxes, but I don’t think I could have pulled off this box.
Anyway, here are some install pics (after which I’ll talk about performance):
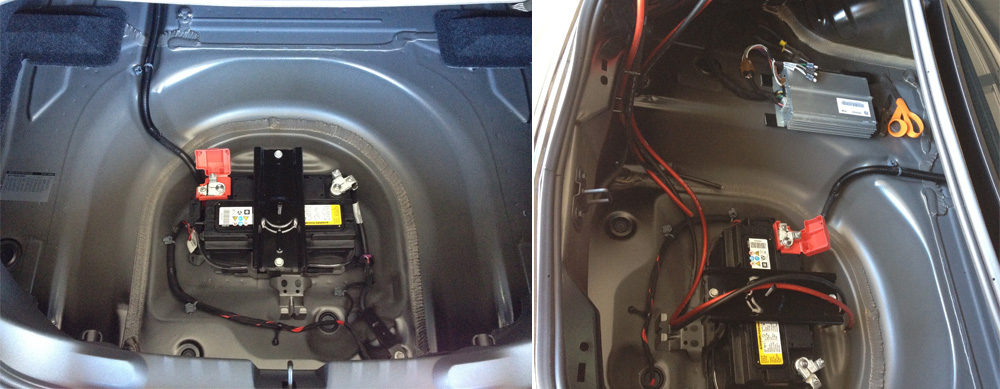
I dug down to the battery (trunk batteries rock). Measured out the wire (4 gauge for this project). Unclipped the factory amp and…
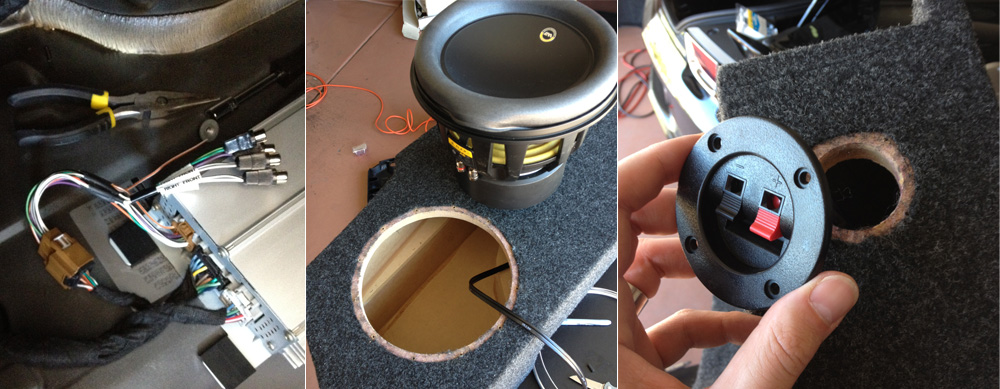
…plugged in the subthump.com harness. This harness is a lifesaver. It taps right into the preamp audio signal (before it goes into the factory amp) and gives you RCA outs. Then you can just plug in your sub! Got the sub box ready (I like to cut away fabric where the seals hit the box).
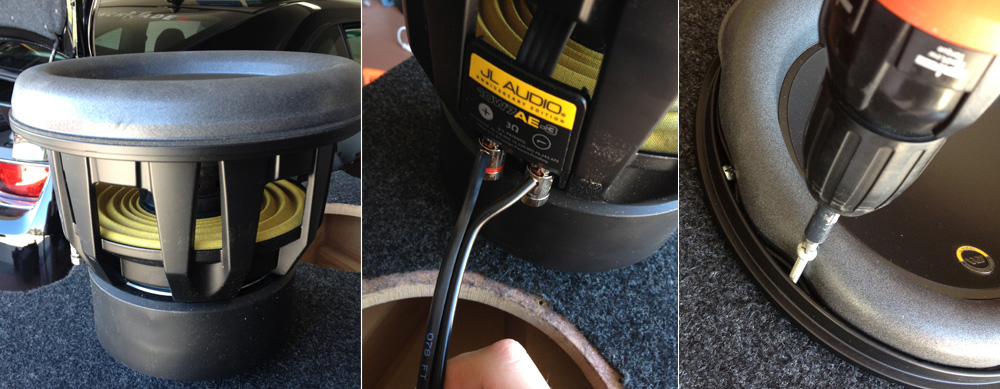
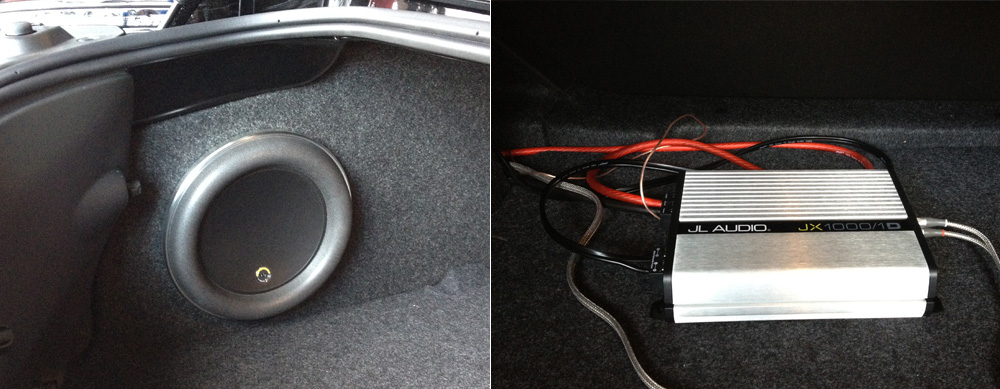
Sub ready for install. The W7AE subs have a unique mounting system which looks really cool, but it is a little trickier.
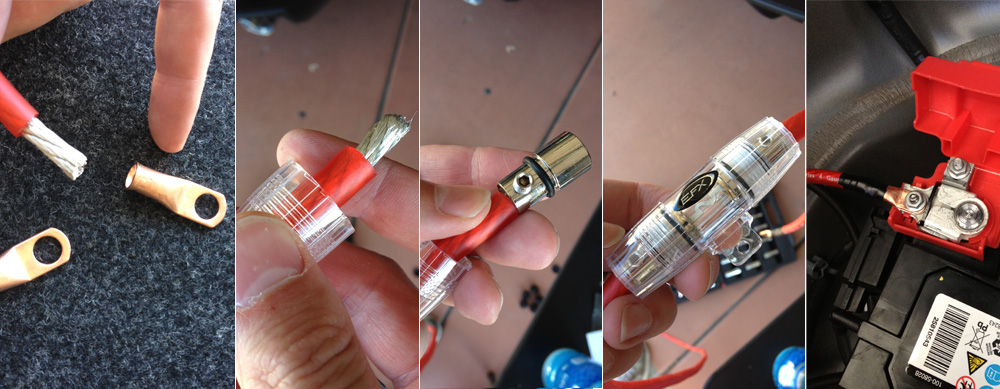
Attached terminal connectors to my wires (power & ground) and then installed the fuse. Here’s a pic of how the connector sits on the battery.
Getting the Subthump box in takes some doing. Had to move a couple wiring harnesses and cut part of the trunk carpet wall (side note: when you buy the box you’ll get a link to installation instructions). Once it’s in, the box fits great. The amplifier wired up. I ended up mounting the amp to the sub box (I do what I want). Moved the wires out of the way to clean up the look. Then cut my Lloyd’s trunk mat so it rested against the sub box.
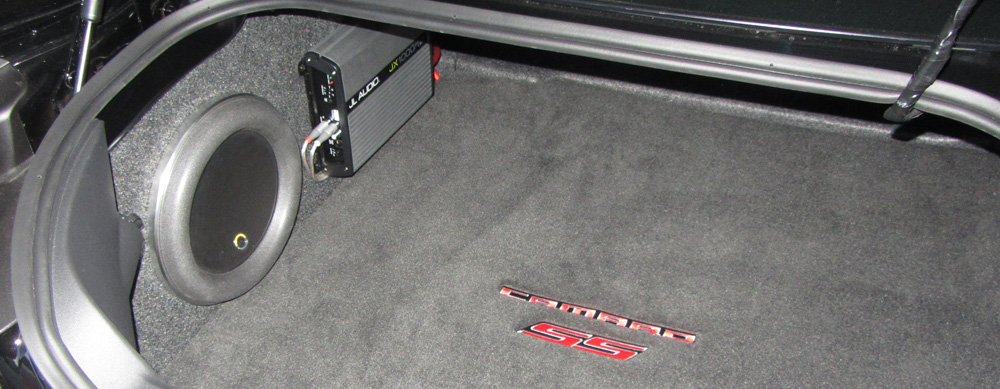
And here is the finished product. Personally I like being able to see the amp and I especially like having the sub mounted off to the side. For me this is more aesthetically pleasing than the factory sub. Total install time was about five hours (I ran into some unexpected complications) and the total I dropped on this project was a little less than cost of the MTX sub.
That’s it for Part 1. In Part 2 I’ll talk about the sound, tuning, and my late night stereo shoot out.

