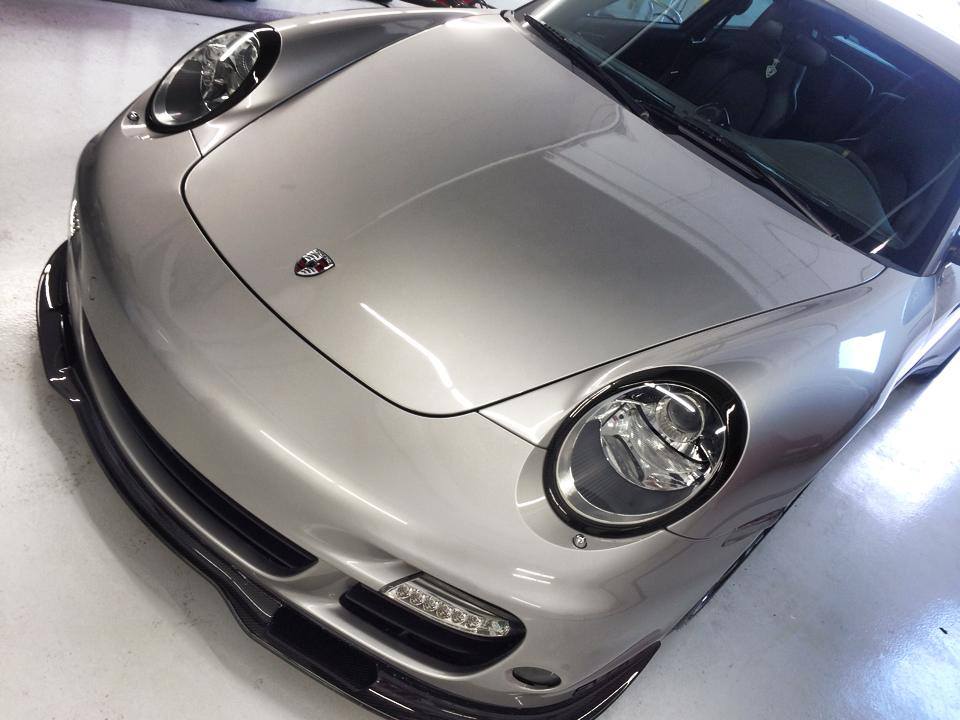
Tech Art Carbon Fiber

Well gee golly, Cam… sure are blogging a lot about your car these days, aren’t you? Yes. I am. But great news: I have a whole post about why I blog about my car. Have a look- it’s insightful. Moving even. And if you’ve taken then time to read that post then when I say “there’s a lot going on right now” everything will make sense.

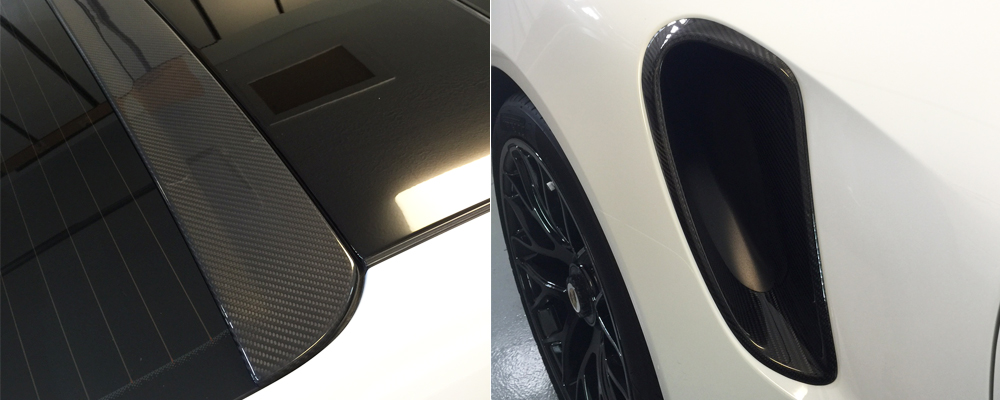
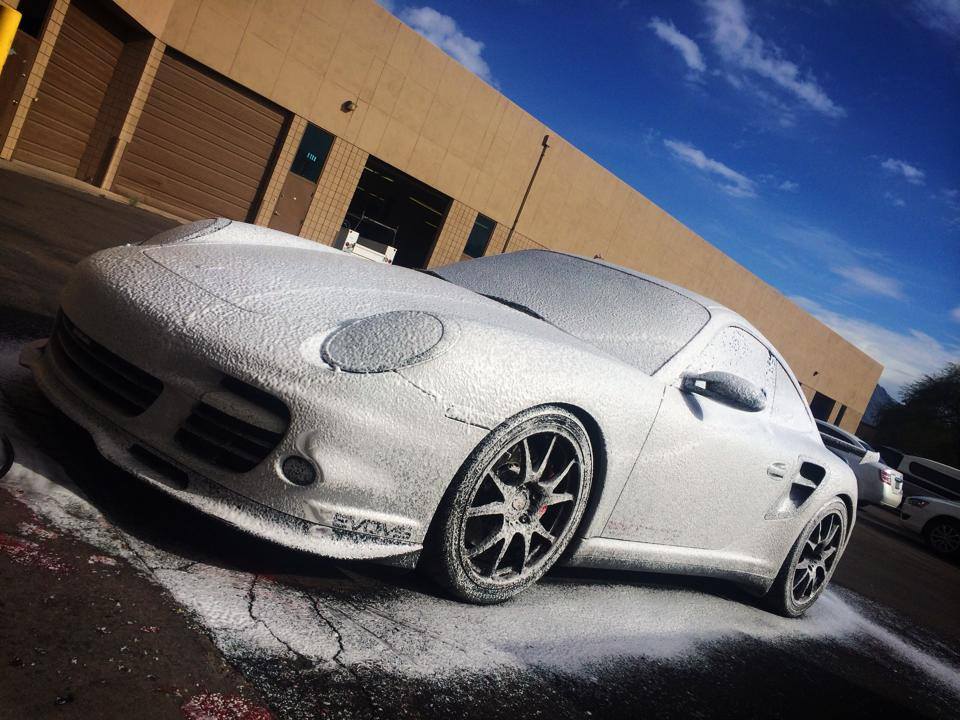
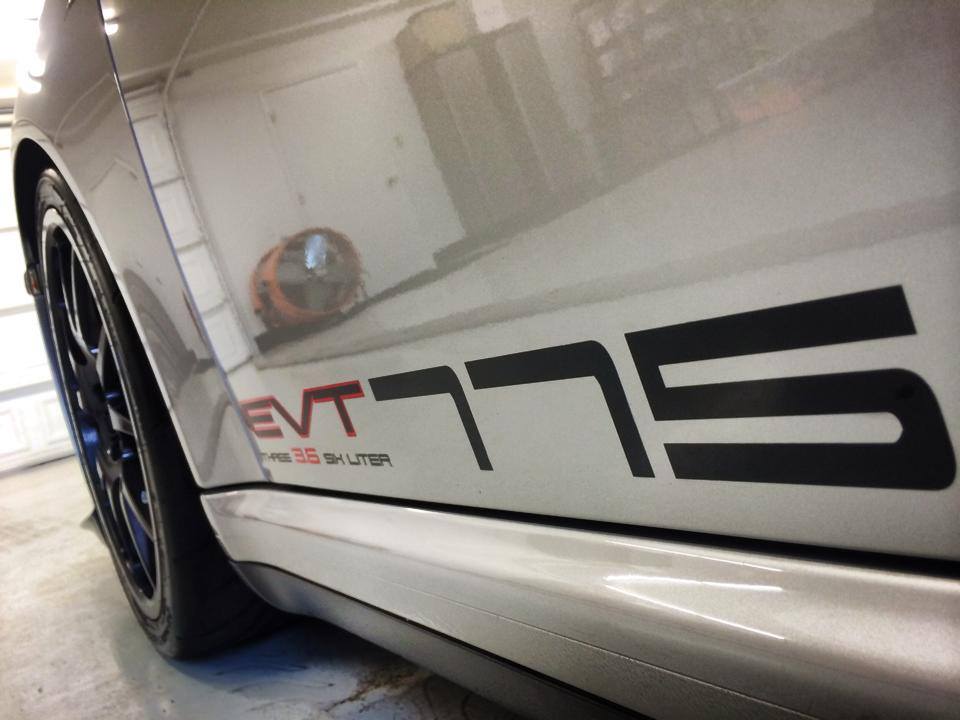
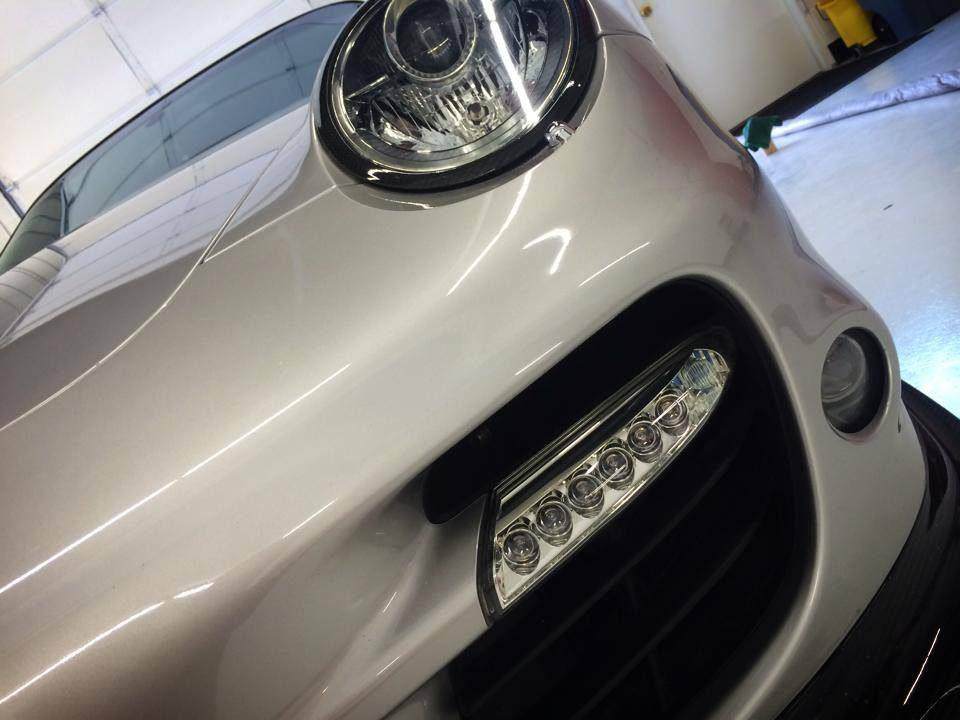
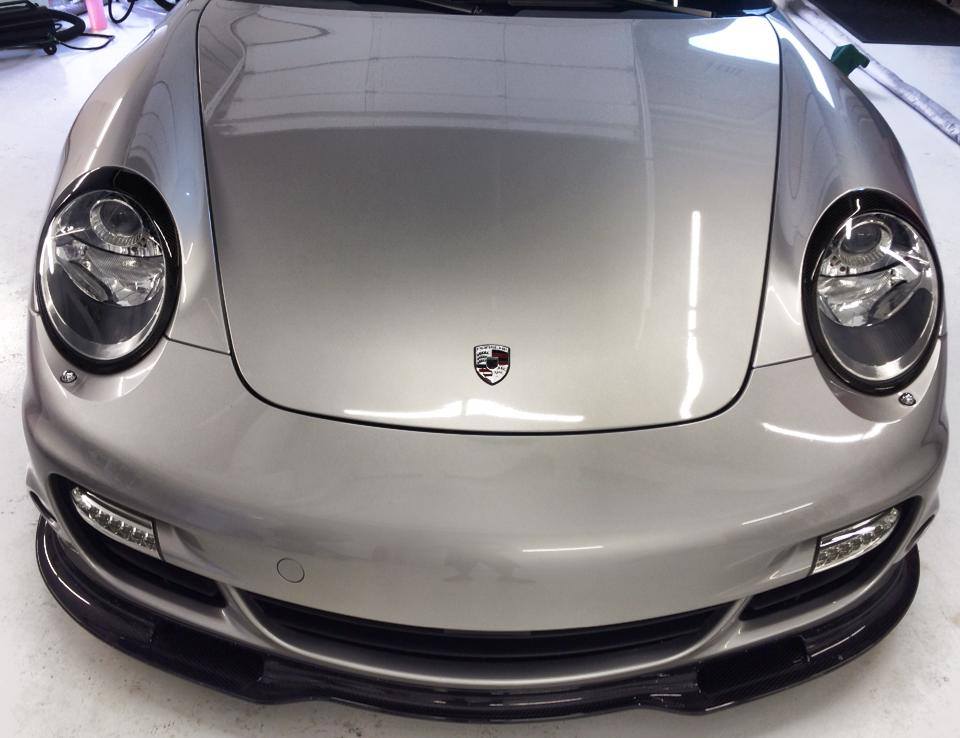
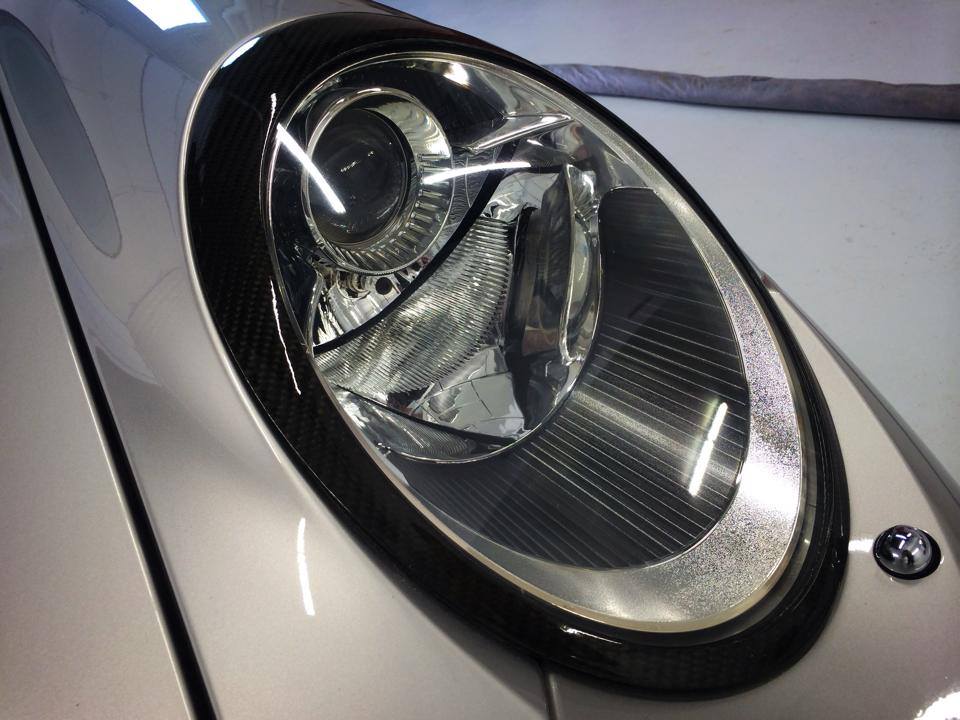
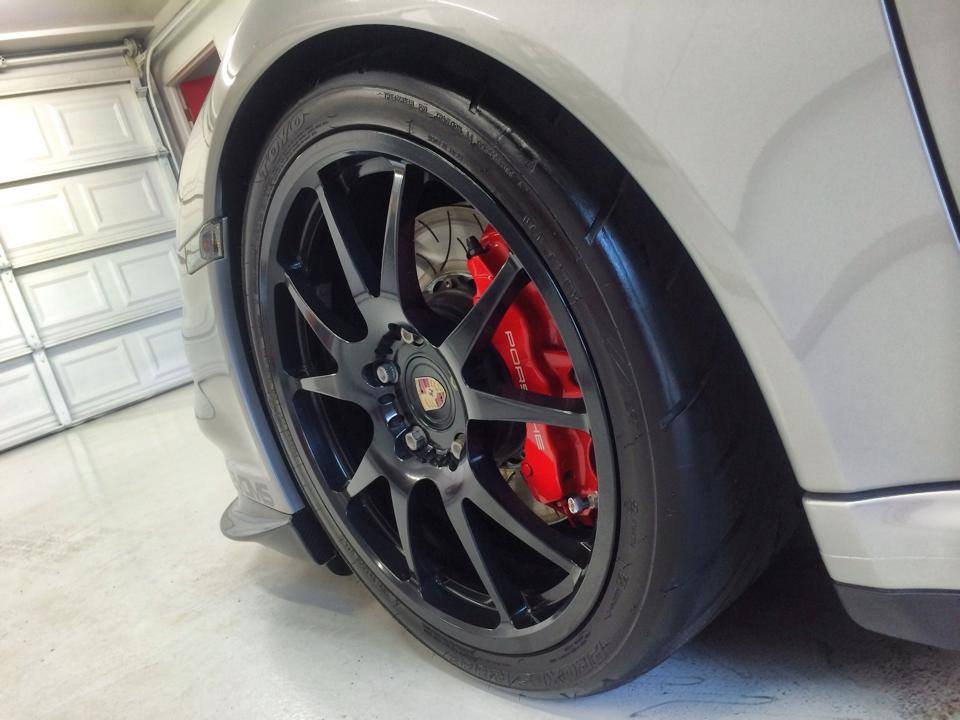
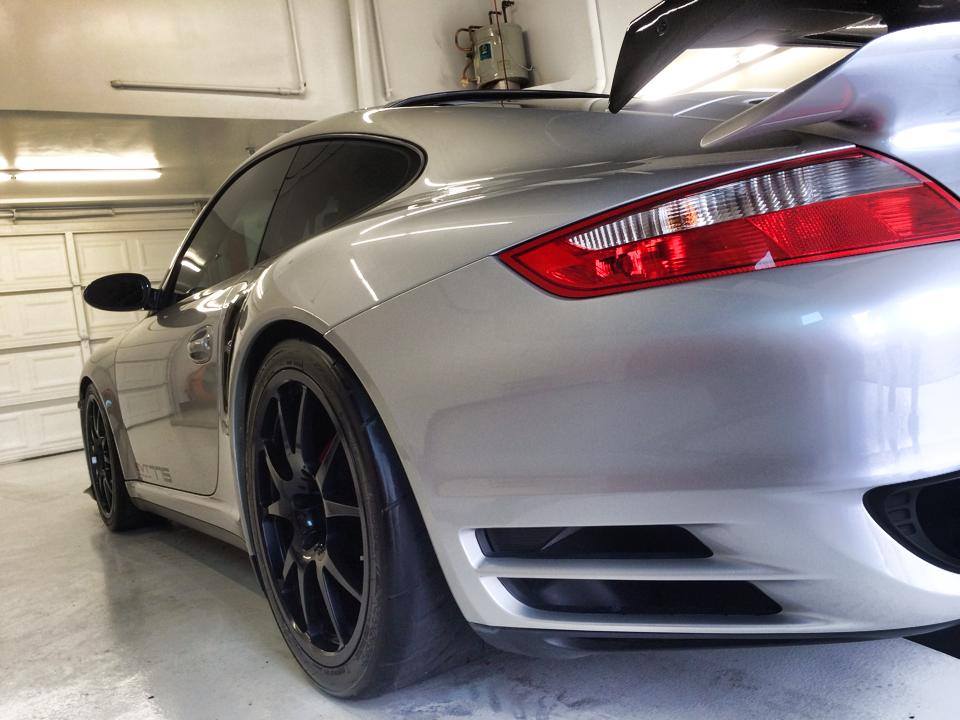
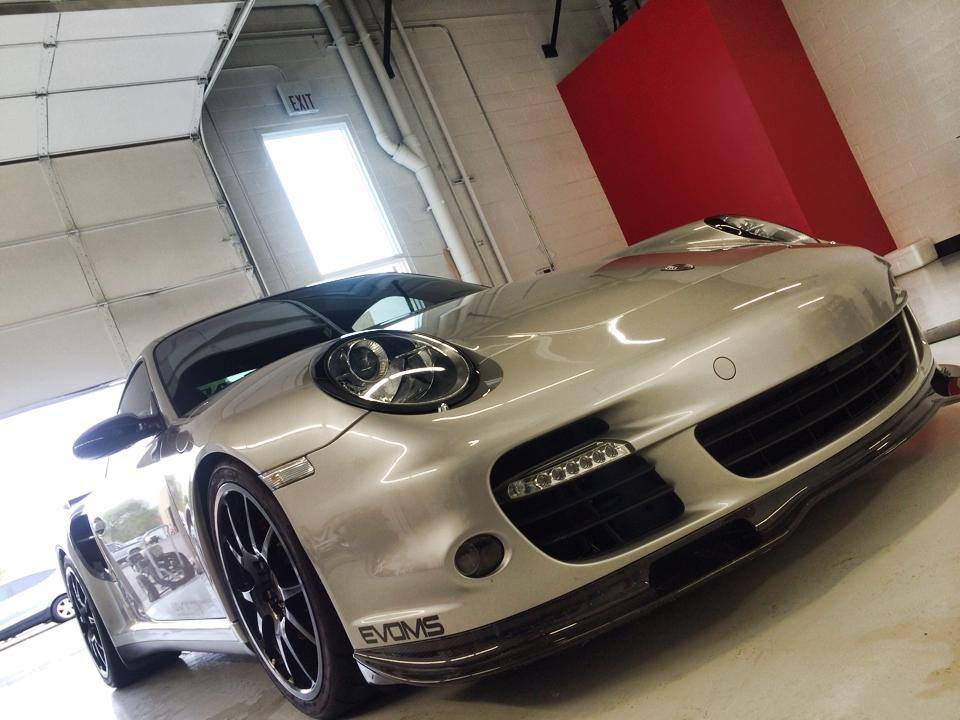
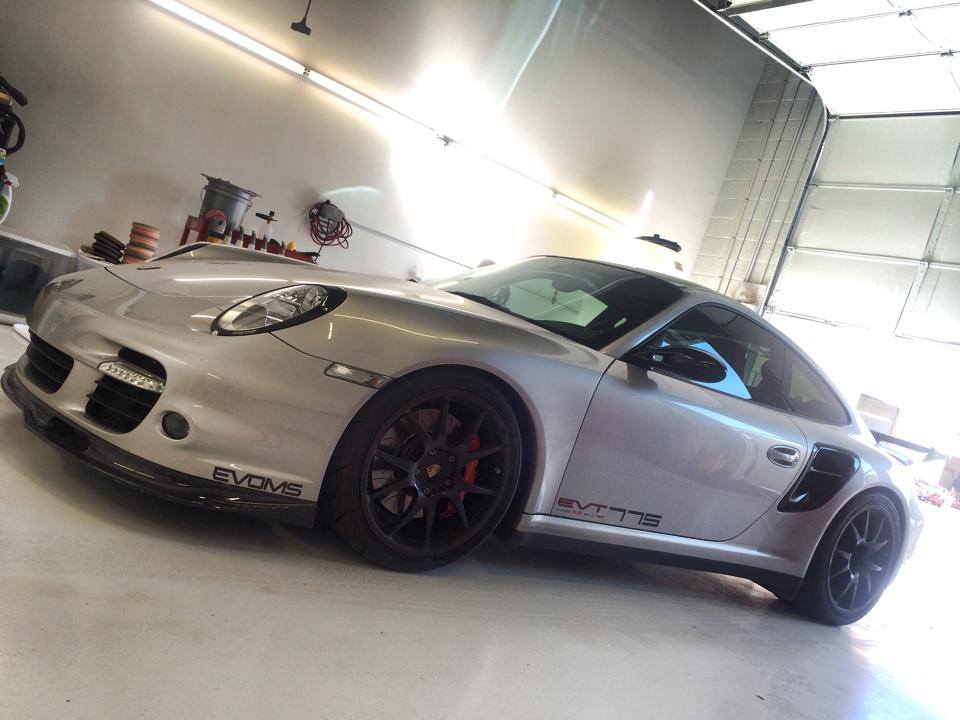
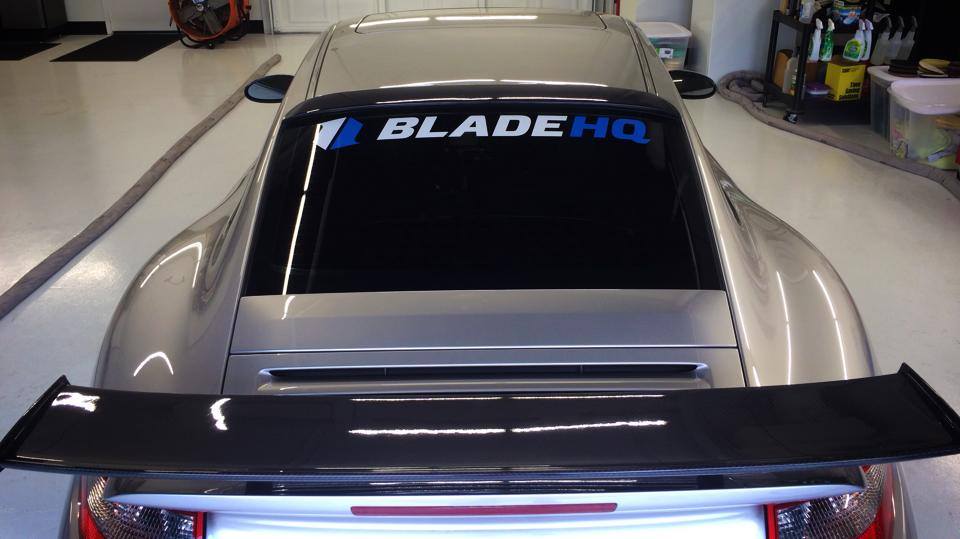
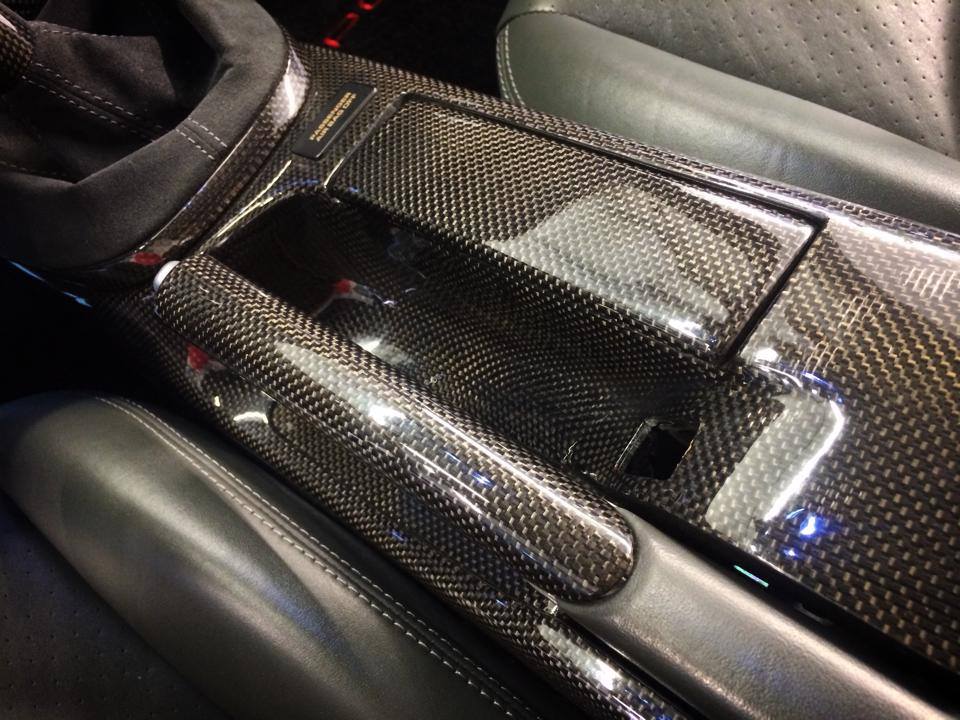
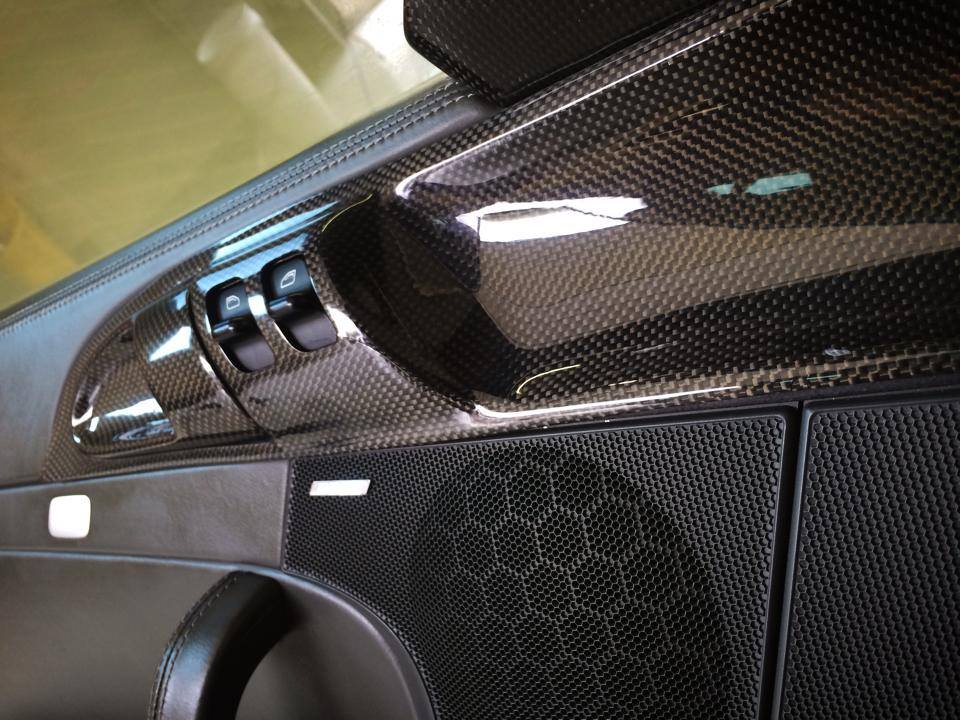
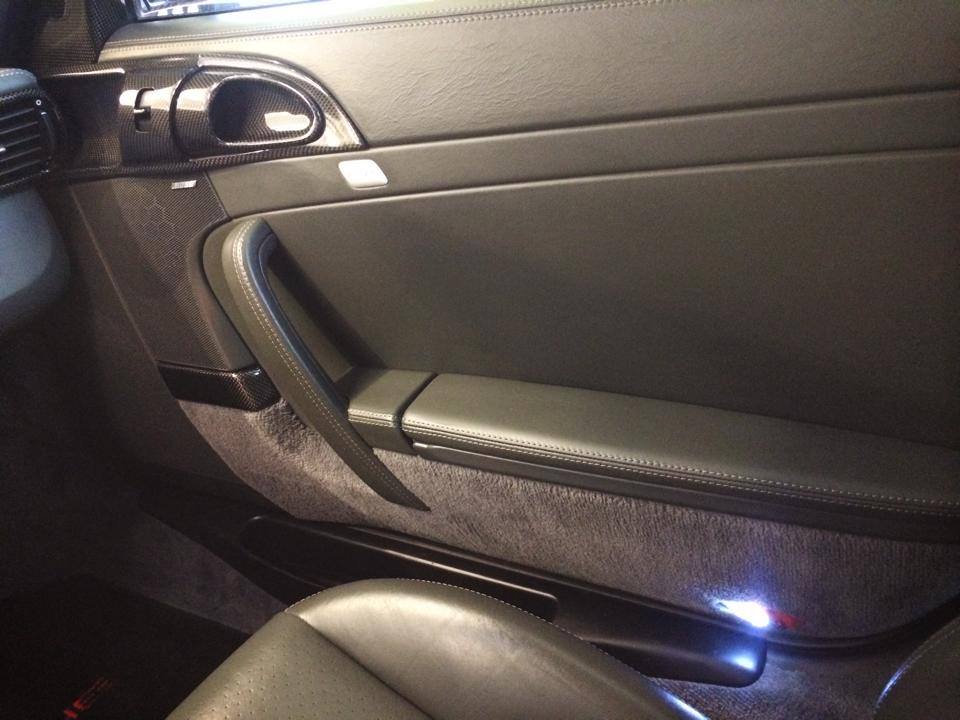
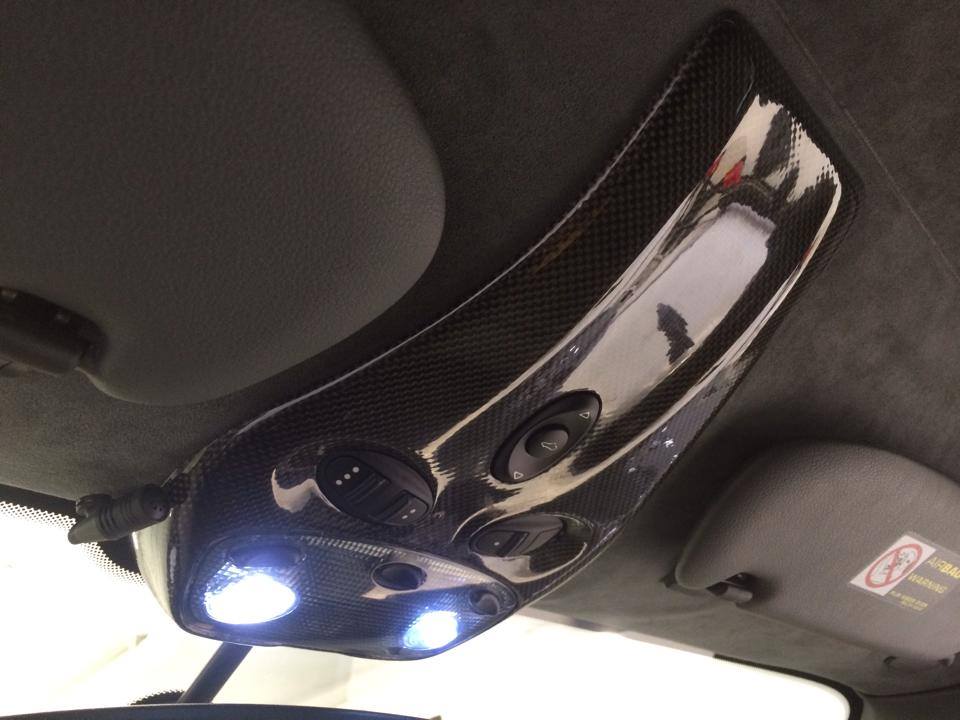
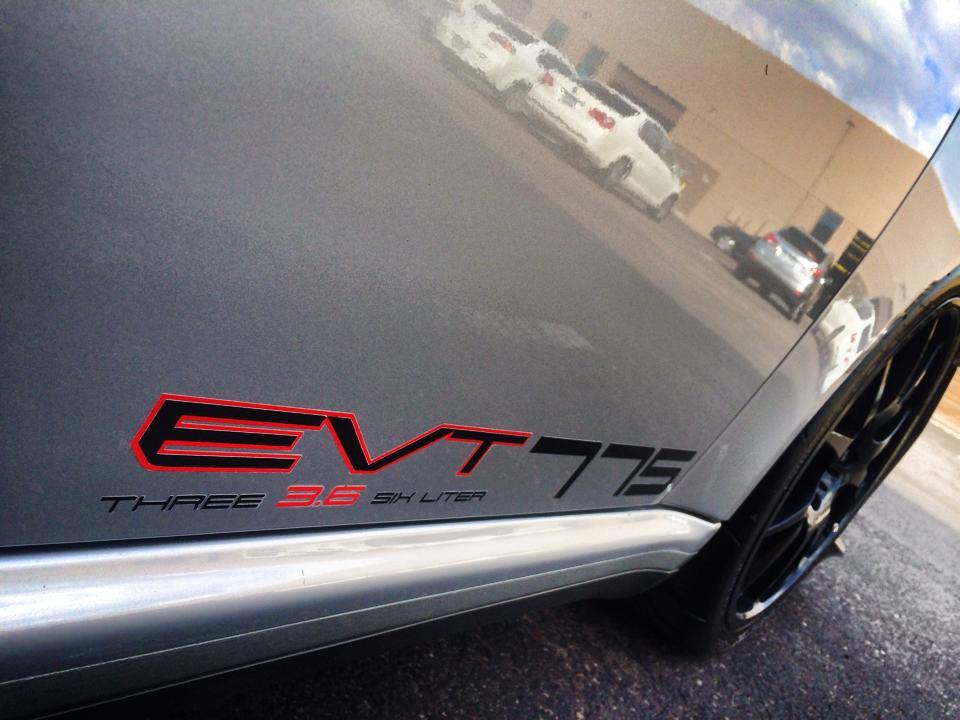
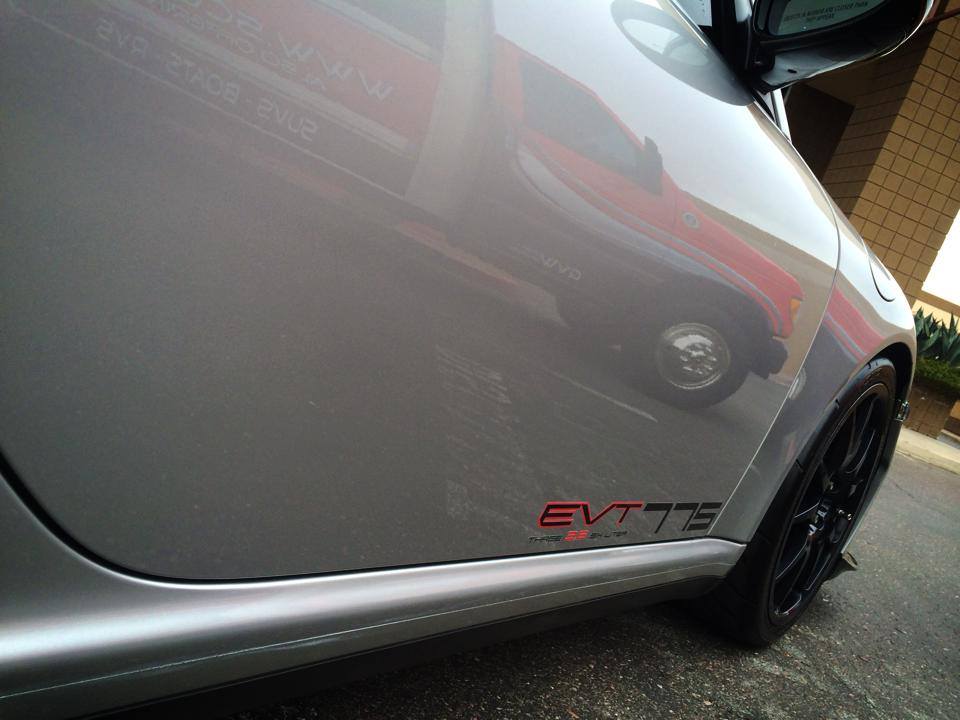
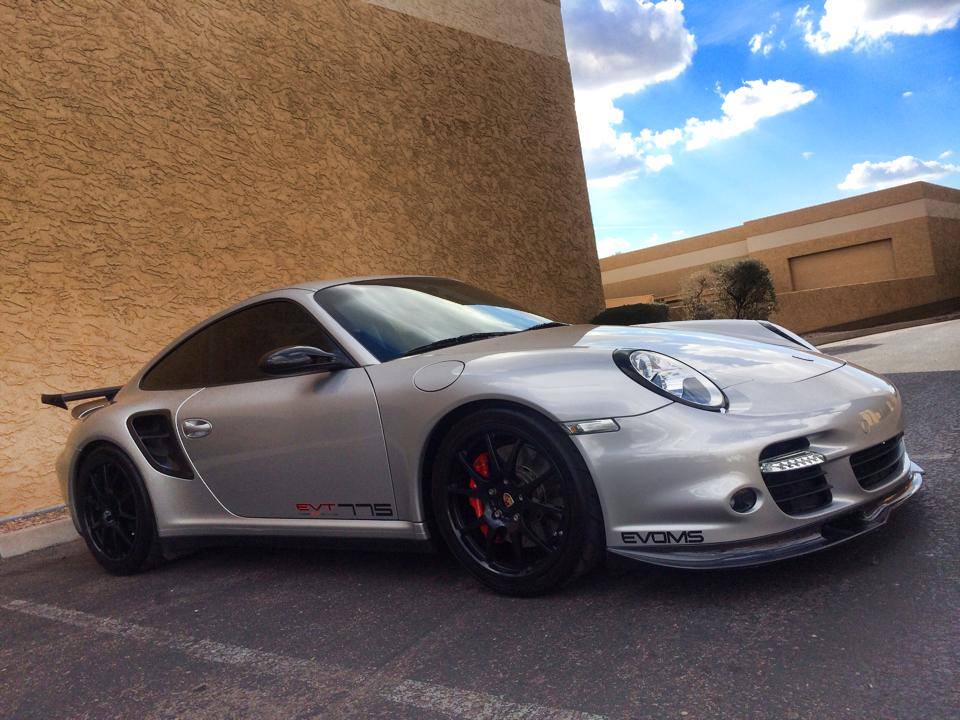
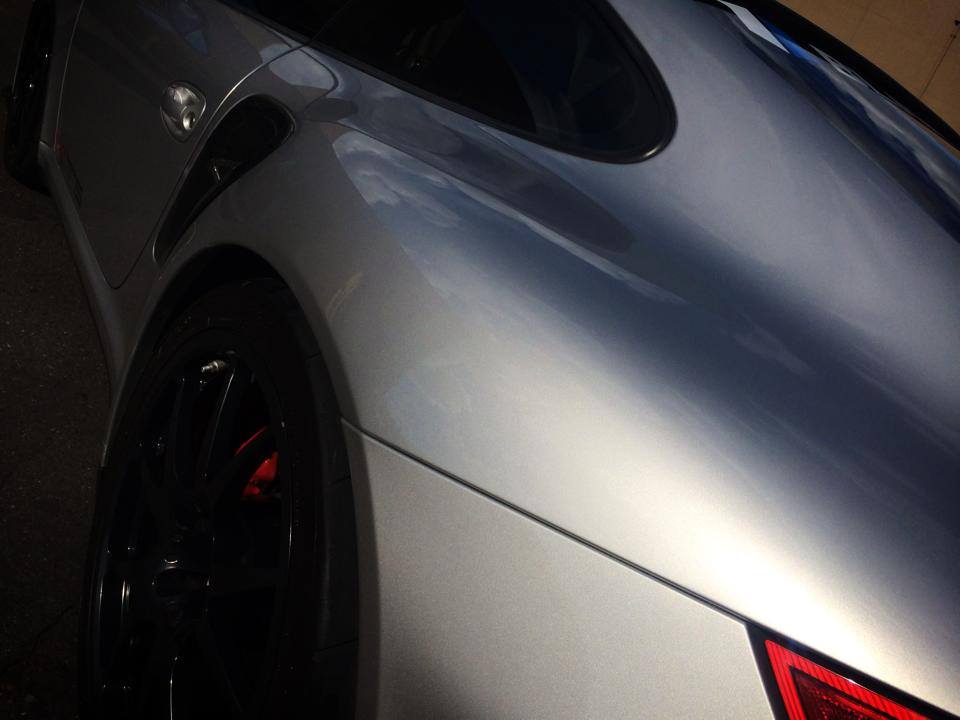
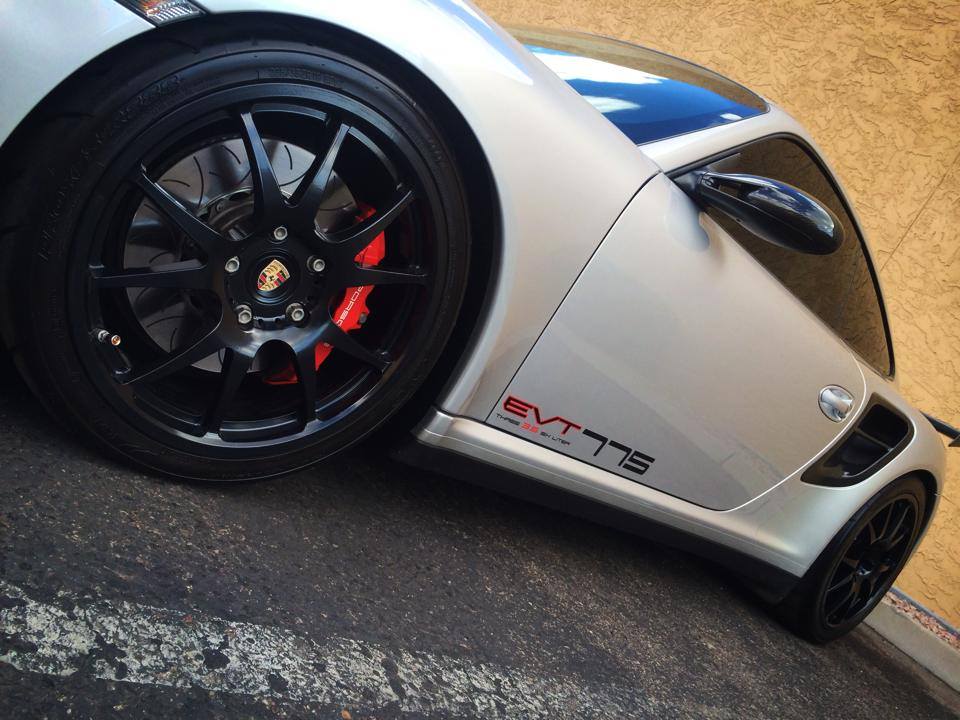
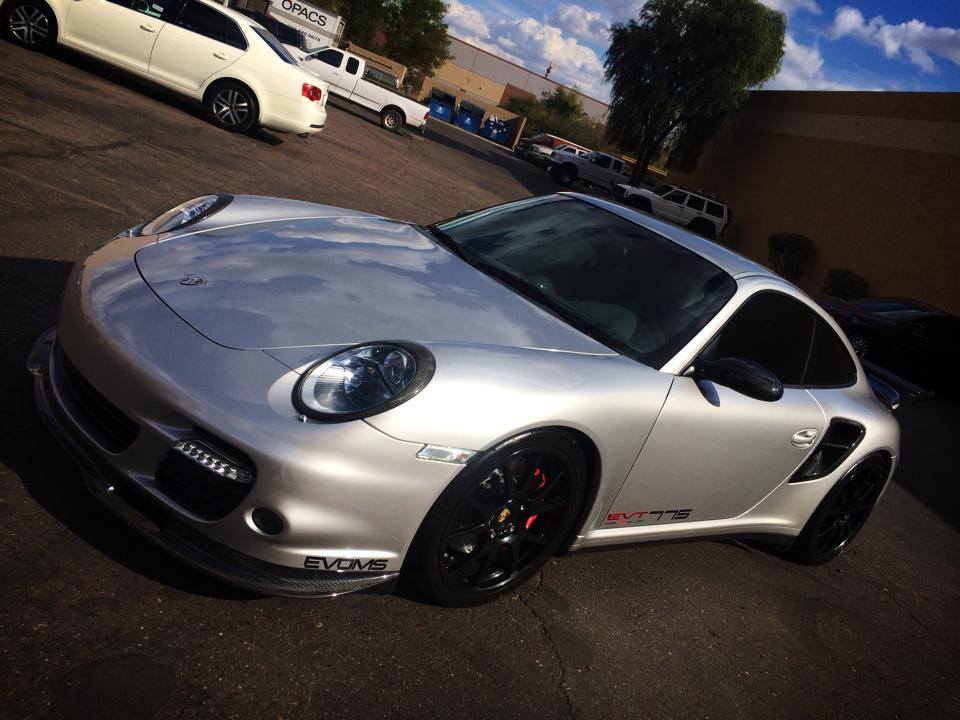
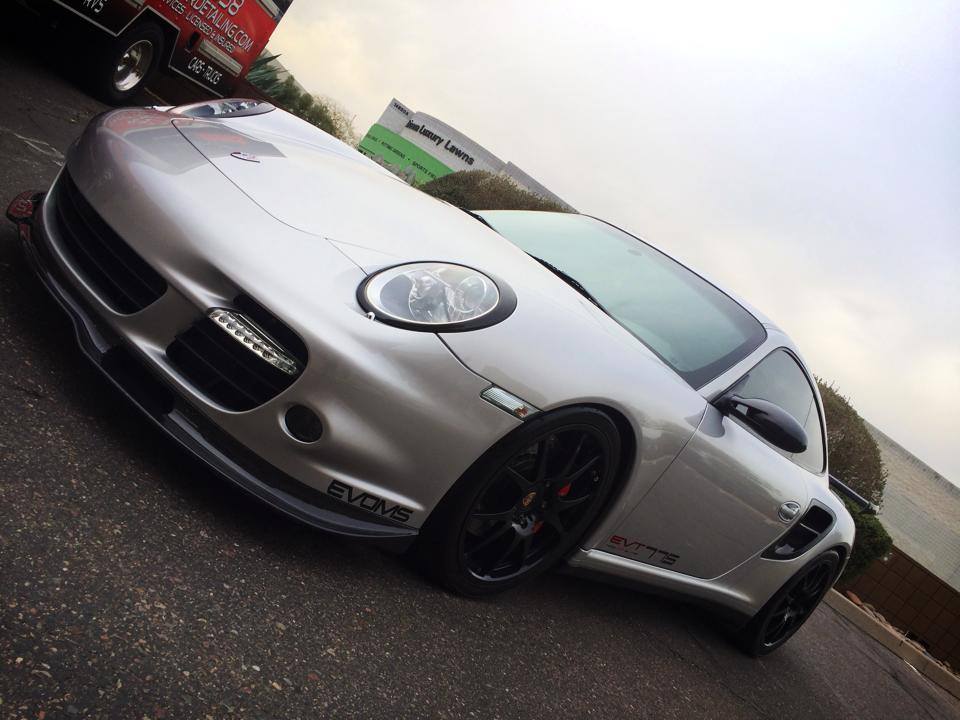
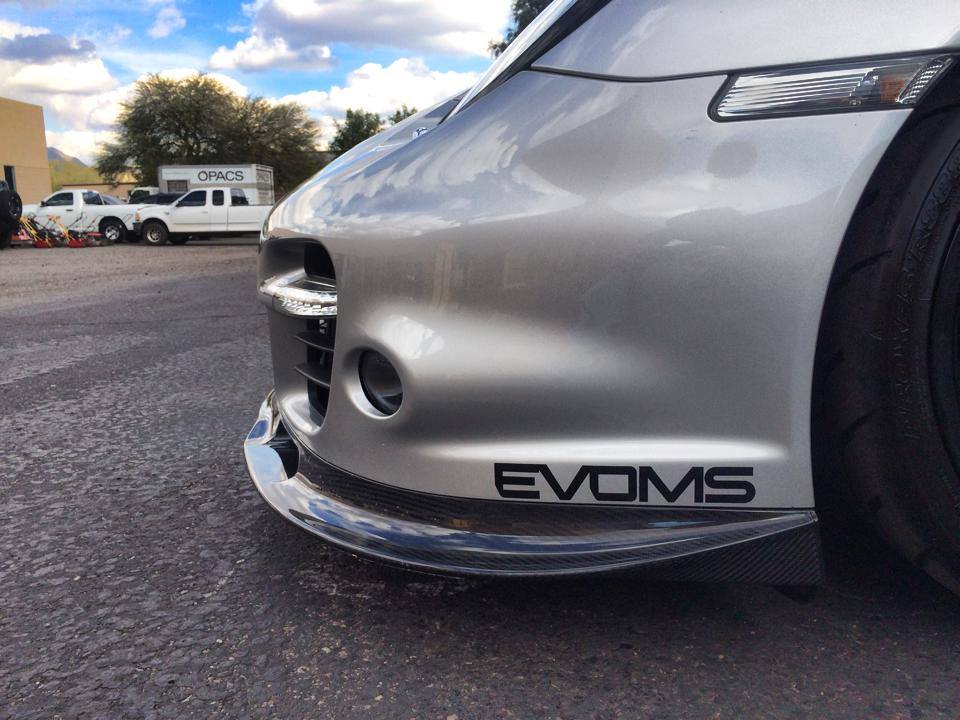
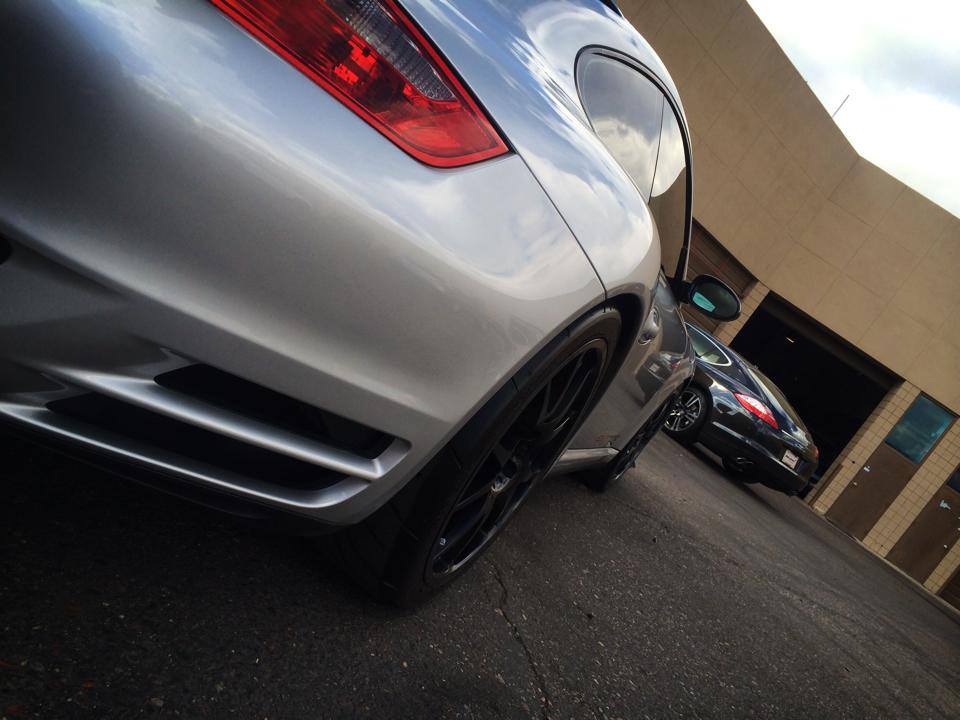
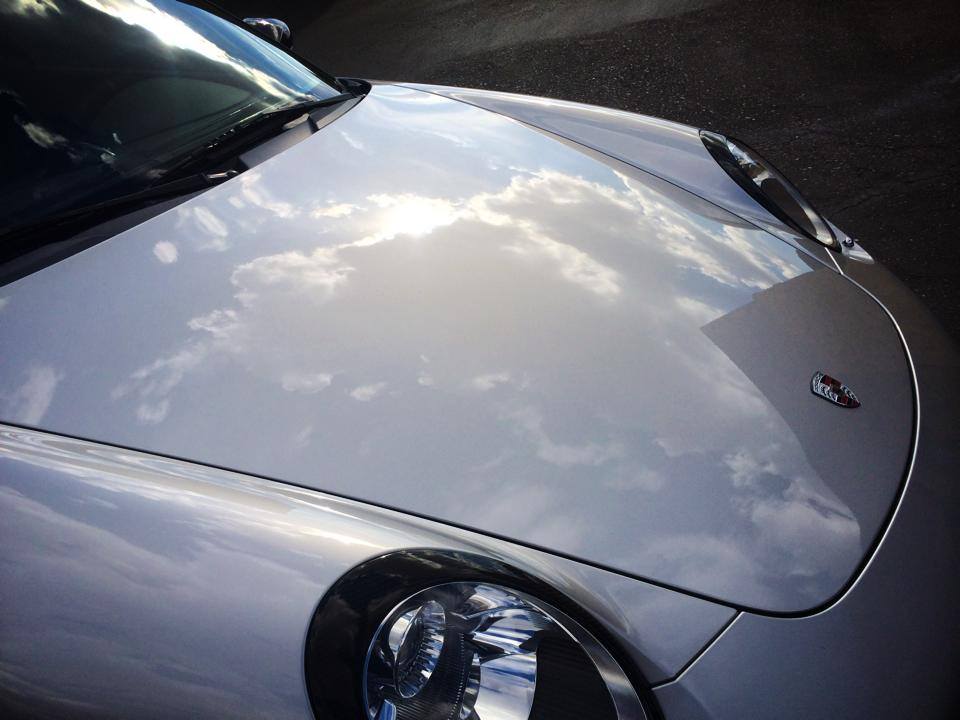
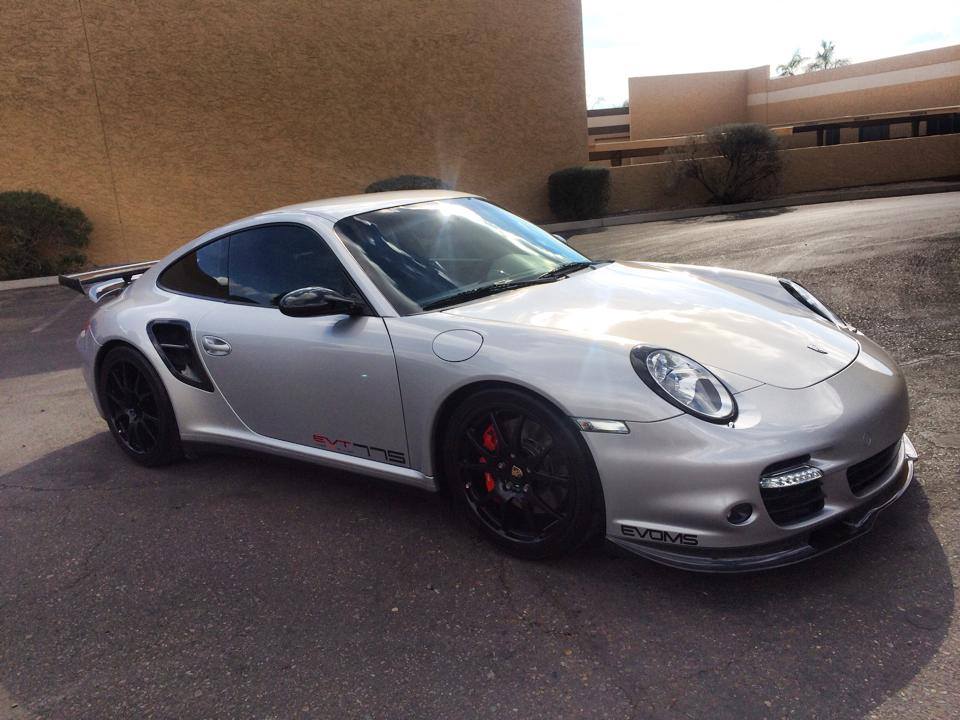
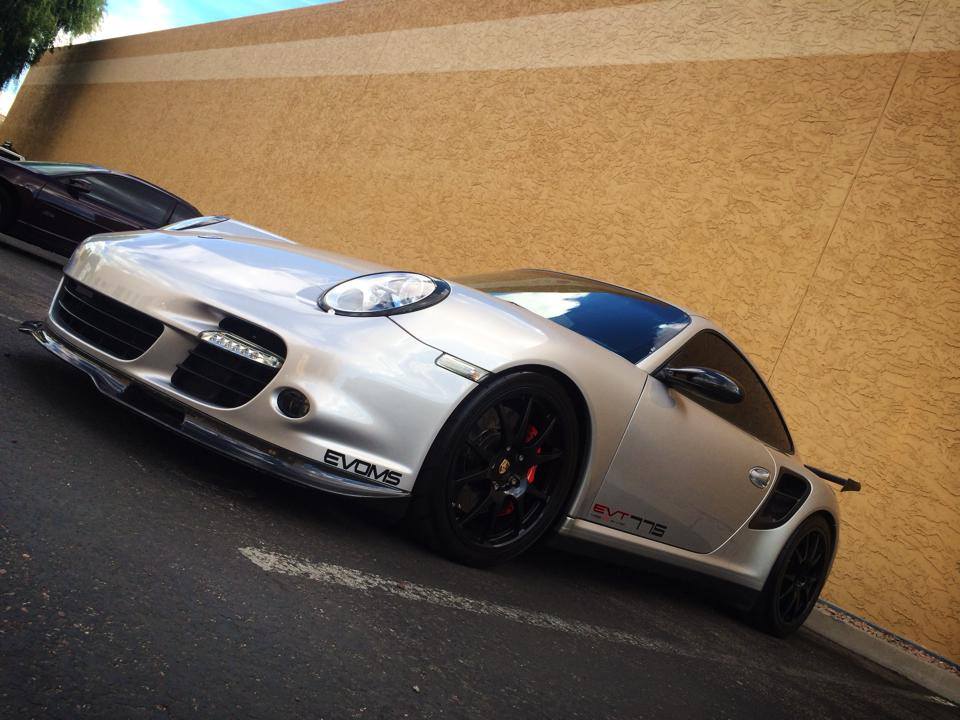
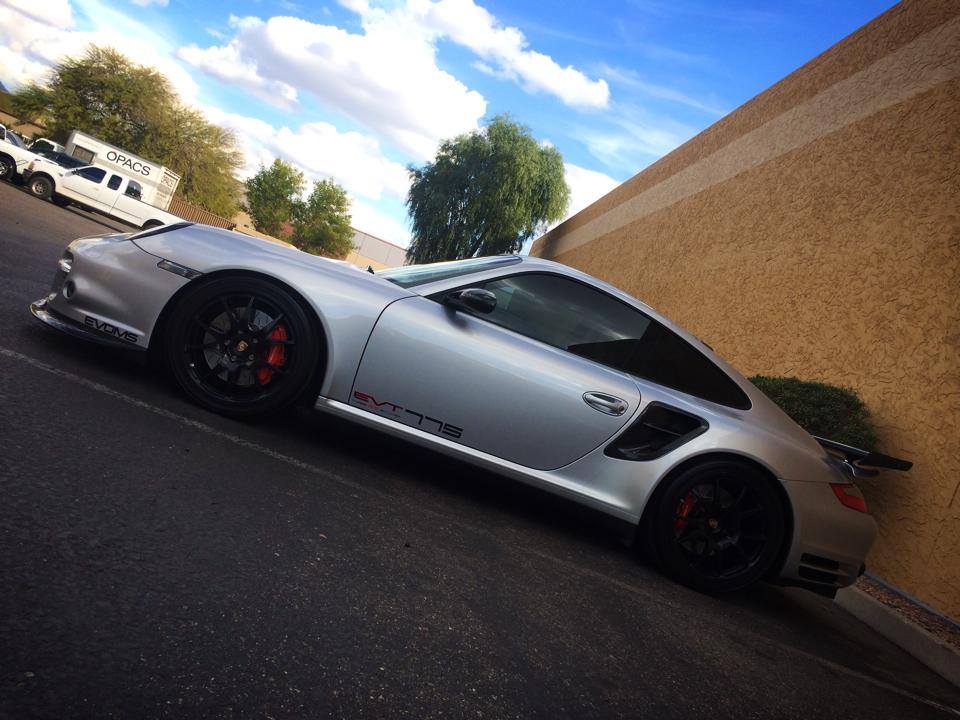
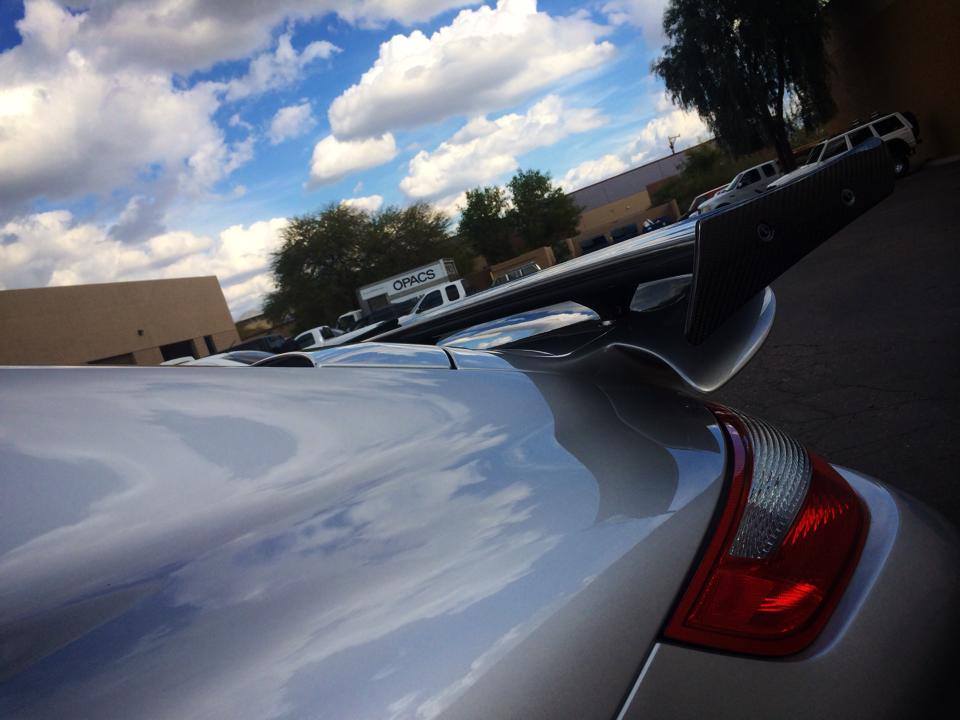
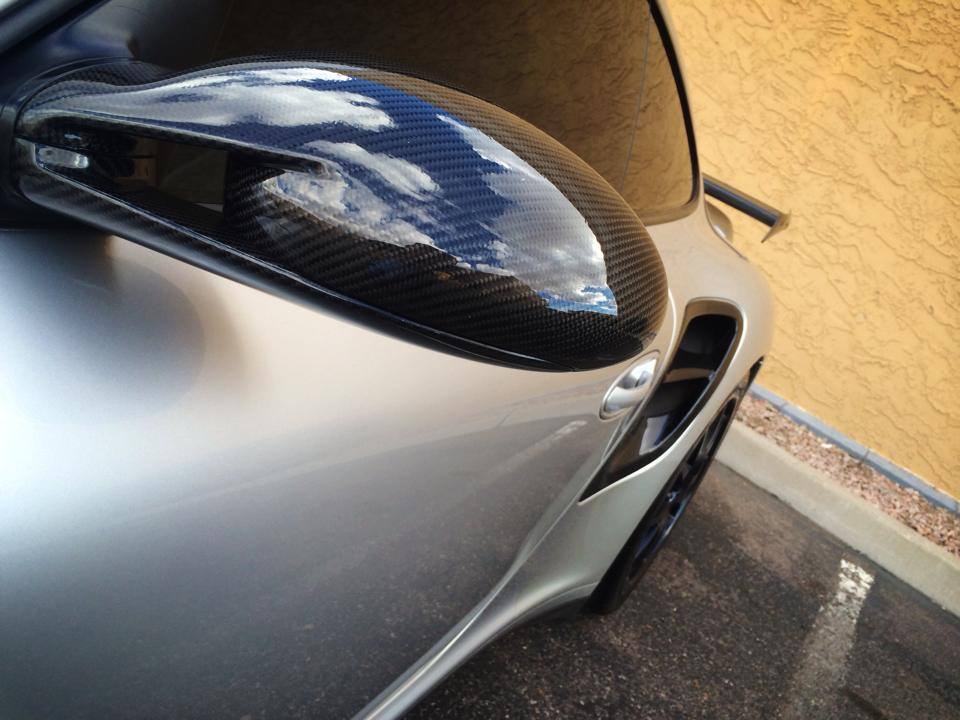
I decided to add a couple of carbon fiber TechArt parts to my car: a rear window spoiler and side air intakes. Just cosmetic modifications- nothing that will void the warranty just yet. I loved all the carbon fiber pieces on the Z07 and I plan to add quite a few more to the 991.

techart-carbon-fiber-991-turbo

My last 911 (997) had a similar Techart window spoiler and I always thought it looked great. It’s a quick easy way to add some CF bling to a 991.

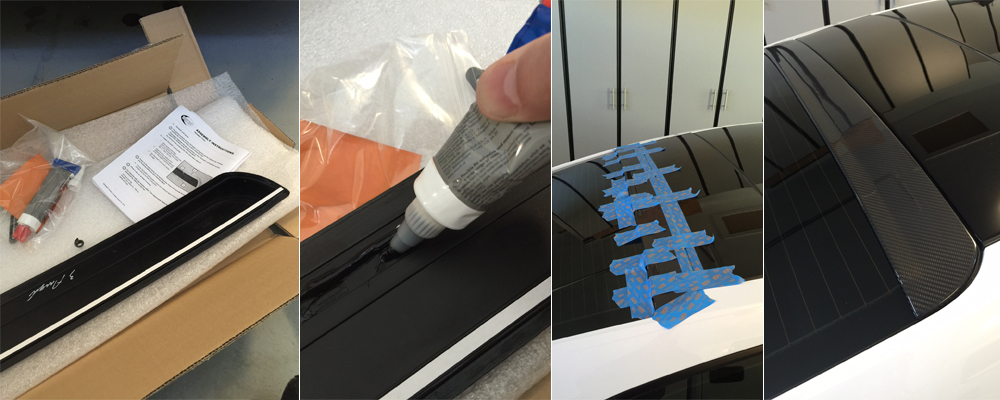
Installation of the spoiler is pretty straight forward. Clean & degrease the back of the spoiler & window area where the spoiler will go. Per the instructions apply the adhesive(s) and position the spoiler (two people here makes it much easier). You can move the spoiler around even after it’s been placed so no need to worry if it’s not perfect yet. Once you’ve got everything aligned, clean off any extra adhesive, use some painter’s tape to secure everything and let it dry for 24 hours. Remove the tape and Presto!

techart-carbon-fiber-991-turbo-spoiler-install

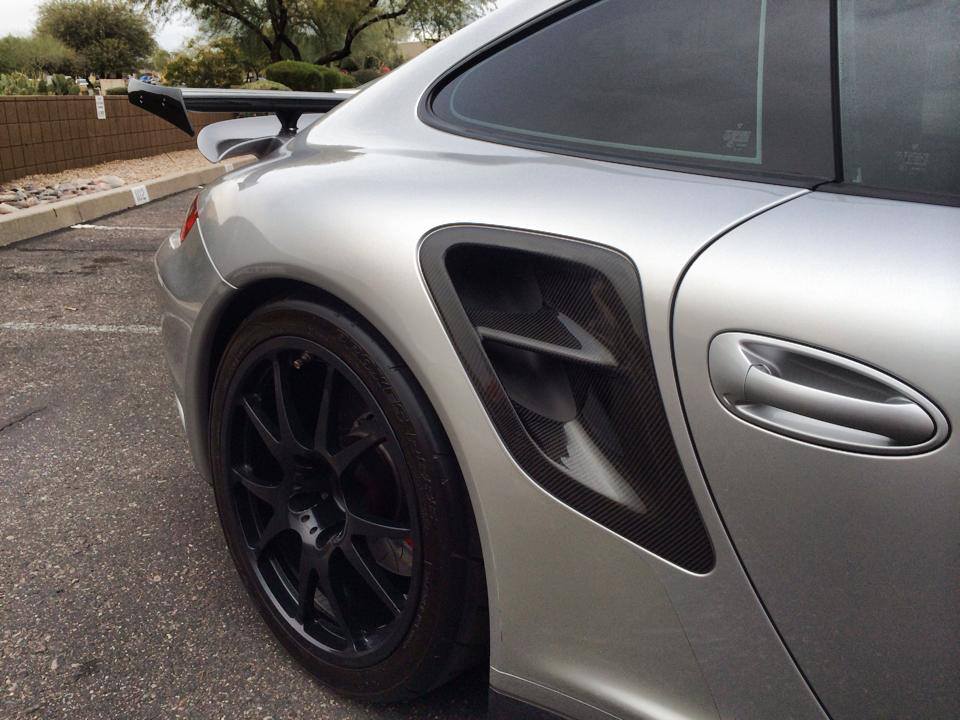
My old 911 also had carbon fiber air intakes (made by ROTtec) which I enjoyed.  Since TechArt offered a set I decide to try them out. The Techart intakes are more aggressively styled than the OEM part and similar parts by other competitors. The design is larger and the shape has been slightly altered. Having had the pieces installed for a few days now it’s clear Techart knows how to make quality and complimentary products.

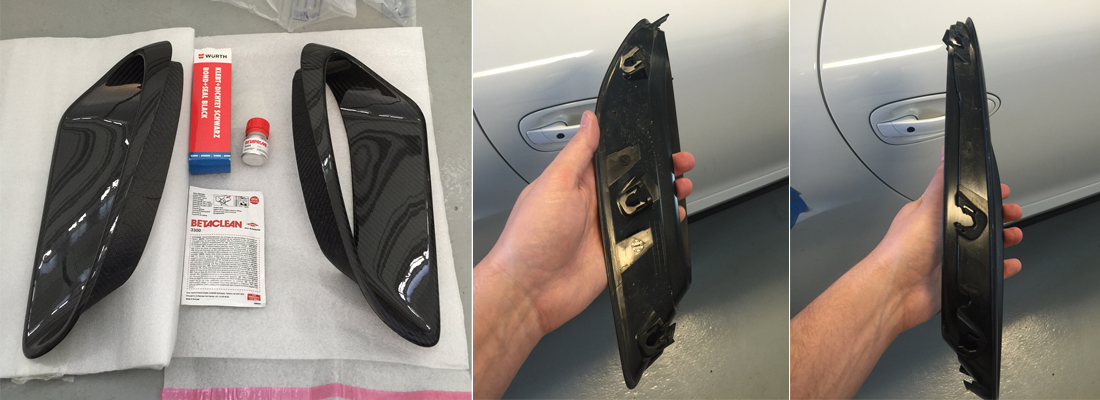
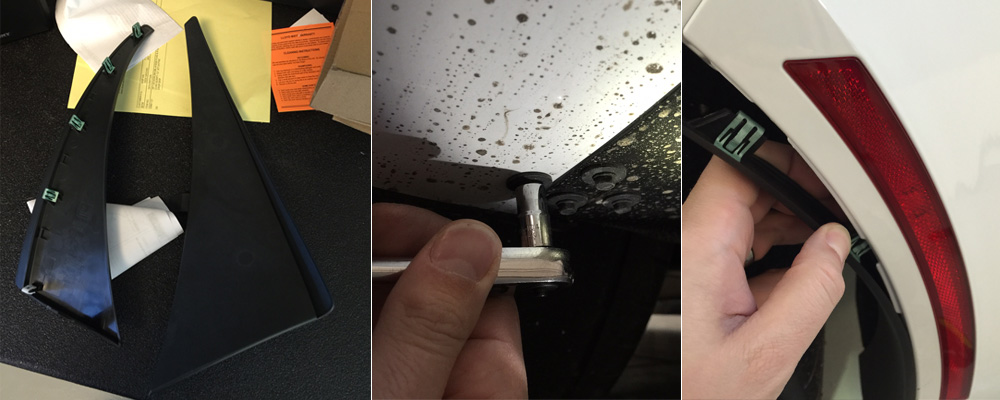
Installing the inlet ducts is more of a challenge. First you have to remove the originals. Good luck. I couldn’t find a helpful online tutorial anywhere. In the end I used my trim tools and poked, prodded and pulled until I got the stupid things out (having to do it twice is the worst part). Honestly, I feel lucky I didn’t break any of the clips. I wish I had something really useful to pass on (maybe “don’t pull the ducts toward you- that’s not how the clips unhook”). At least you can see where the clips are all located on the pieces below. The Techart intakes don’t come with an option for a core swap so this makes them a more expensive relative to other lines and leave little recourse if you’e not truly committed. But I say “Go for it!”

techart-carbon-fiber-991-turbo-inlet-dect-install-1

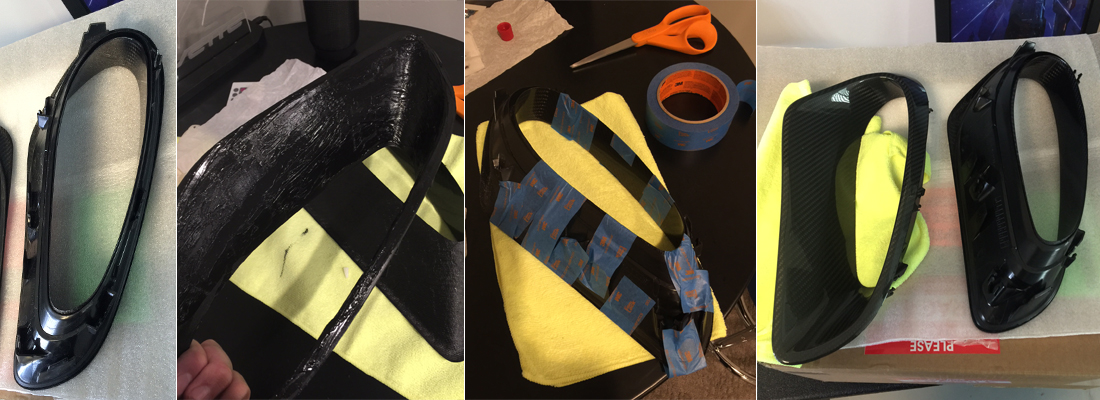
Once the OEM ducts are out you need to prep the parts with the Betaclean wipes. Then apply the Betaprime primer everywhere the parts will have contact. Then apply the adhesive over the primer. Place the carbon fiber inlet trim over the original part. Lining them up properly is very important- you need to make sure the bottom edges are the ones that align (there will actually be a gap at the top- see pic, below, far left). Clean any adhesive off the visible carbon fiber. Tape everything together and let the parts dry for 24 hours. Remove the tape and reinsert the inlet ducts back info the car (this can be tricky- push hard).

techart-carbon-fiber-991-turbo-inlet-dect-install-2

I bought these two parts from World Motrosports. They said the items were in stock but when there was no shipping notification after a few days I contacted them and it turned out there was an stock issue on Techart’s end. To their credit they were eventually able to have the items overnighted (for free) from the manufacturer. The turbo inlets didn’t have instructions and although World Motorsports repeatedly promised they would get me the info they forgot. My contact there, Craig, is a super nice guy, but maybe he’s just got too much going on. Despite the issues I’d probably order from them again. There are a couple more carbon fiber parts I’d like to get my hands on…

Skip the Skip Shift

The last few Corvette generations contain the very annoying “ship shift” technology (CAGS- Computer Aided Gear Selection). Under certain -usually relaxed- conditions the driver is compelled to shift from 1st gear to 4th gear. In addition to irritating the driver this action allegedly increases fuel economy. Love for the earth aside, this is just not how civilized people shift.

Luckily the skip shift is easily defeated-  you simply need a “skip shift eliminator.” These can readily be purchased online for between $15 – $20. You can do the installation yourself- all you need is a safe way to get under your car, minimal skill and an impassioned hatred for the “system.”

skip-shift-eliminator-installation-install-c7-z06-2015

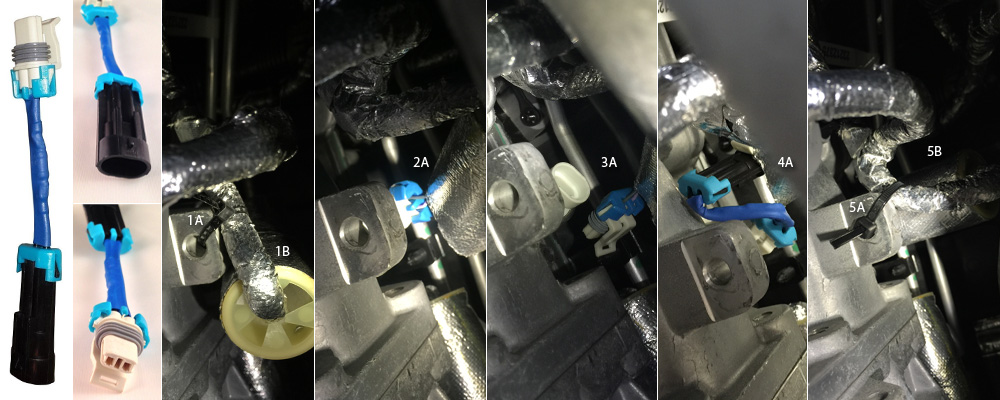
The first pic shows what a skip shift eliminator looks like including both plug ends. Following are the install instructions on a 2015 Z06.

1A – Cut off the zip tie.
1B – Push the cover off of the skip shift plug on the transmission.
2A – The skip shift harness exposed. Make sure you find the right one!
3A – Unplug the harness. There is a tab you need to lift up and the the harness unplugs.
4A – Plug the skip shift eliminator into both ends of the old plugs.
5A – Use a new zip tie to secure the wires back to the car’s frame.
5B – Fold the new harness together and then you can slip the cover back into place.

Take your modified car for a spin (hint: if you can’t shift into reverse you tapped into the wrong plug). No matter the driving conditions you should now be able to shift from 1st gear to 2nd gear with no impedance. Happy driving!

2015 C7 Z06 / Z07: First Impressions

2015-corvette-c7-z06-arctic-white-1

After inadvertently locating my “dream car” a couple of months ago I decided to take the plunge. In a very real sense this represents my last effort to enjoy owning something like this. It’s powerful, unmodified, unasbused and fully warrantied. If this car causes me excessive emotional trauma then I know there’s no real hope. Right now I’m in the break-in period. That means I keep it under 4K RMPs and I don’t really get to experience a lot of what the car offers. Nevertheless, here are my initial impressions of the car, having had it for a couple of weeks (I’ve put on a whopping 160 miles).

With no love from my local dealers I ended up getting my car through Castle Chevrolet in Illinois. Zach was my sales person and he was fantastic. He kept me updated at every step, answered all my questions and has been responsive following the sale as well. I used Don with Specialty Mobile Transport to bring the car to Utah. He picked it up on a Thursday and had it to me Friday- Overnight car delivery. Unreal. Buying out of state can be a bit stressful but everything went smoothly and was nearly stress free.

2015-corvette-z06-front-rear

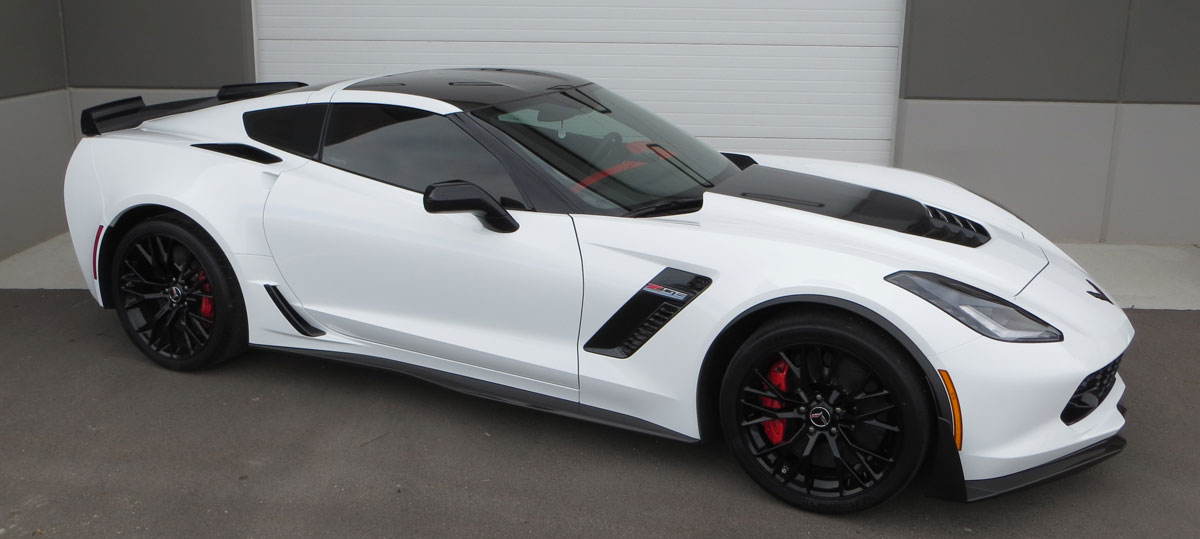
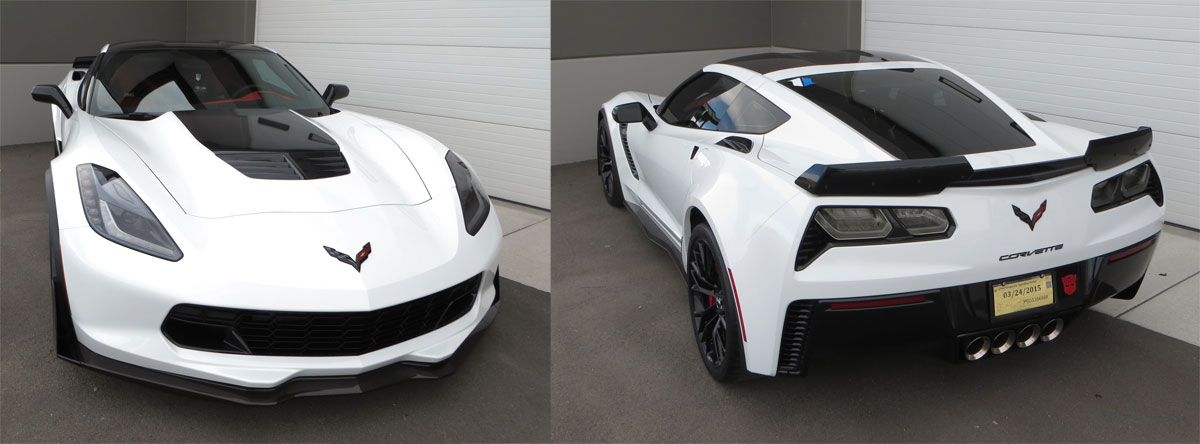
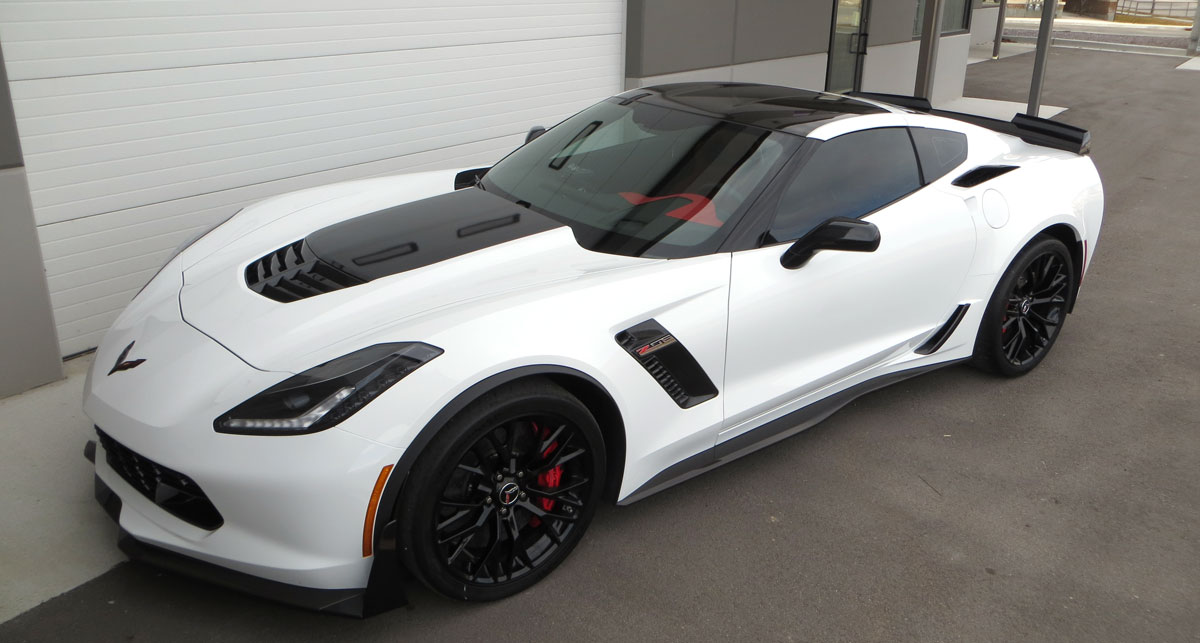
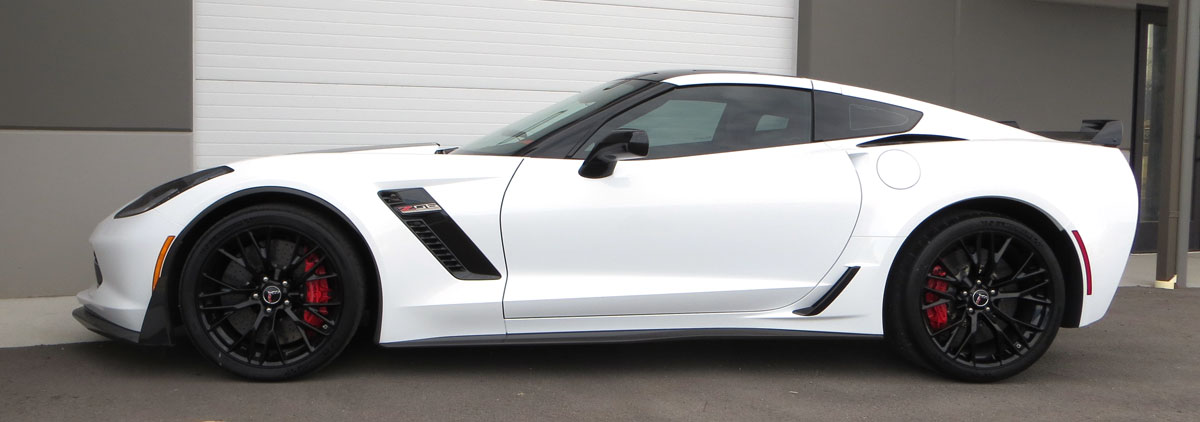
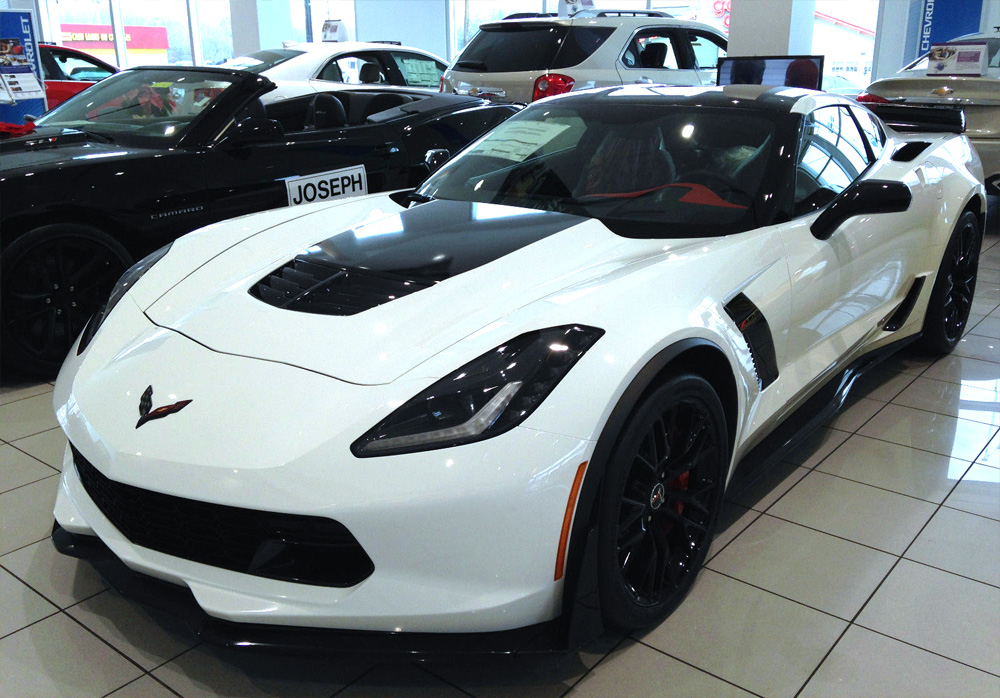
Visually I think the car is breathtaking. When the C7 first emerged I had some reservations about how the car looked (especially from the back). The Z06’s wider stance alleviated some of my concerns but it wasn’t until I was standing in front of (and behind) the actual car that I knew I’d been unfair. It’s aggressive, sleek yet refined and it seems to turn heads everywhere it goes. There’s just nothing legitimate to dislike. I’m really happy with the Arctic White and I feel like the black accents and wheels go perfectly with it.

And finally some carbon fiber! For some reason I held out and never put any CF on the outside or inside of my C6. But I was thrilled that Chevy offered it on the C7 and the visible carbon fiber package does not disappoint.

2015-corvette-c7-z06-interior

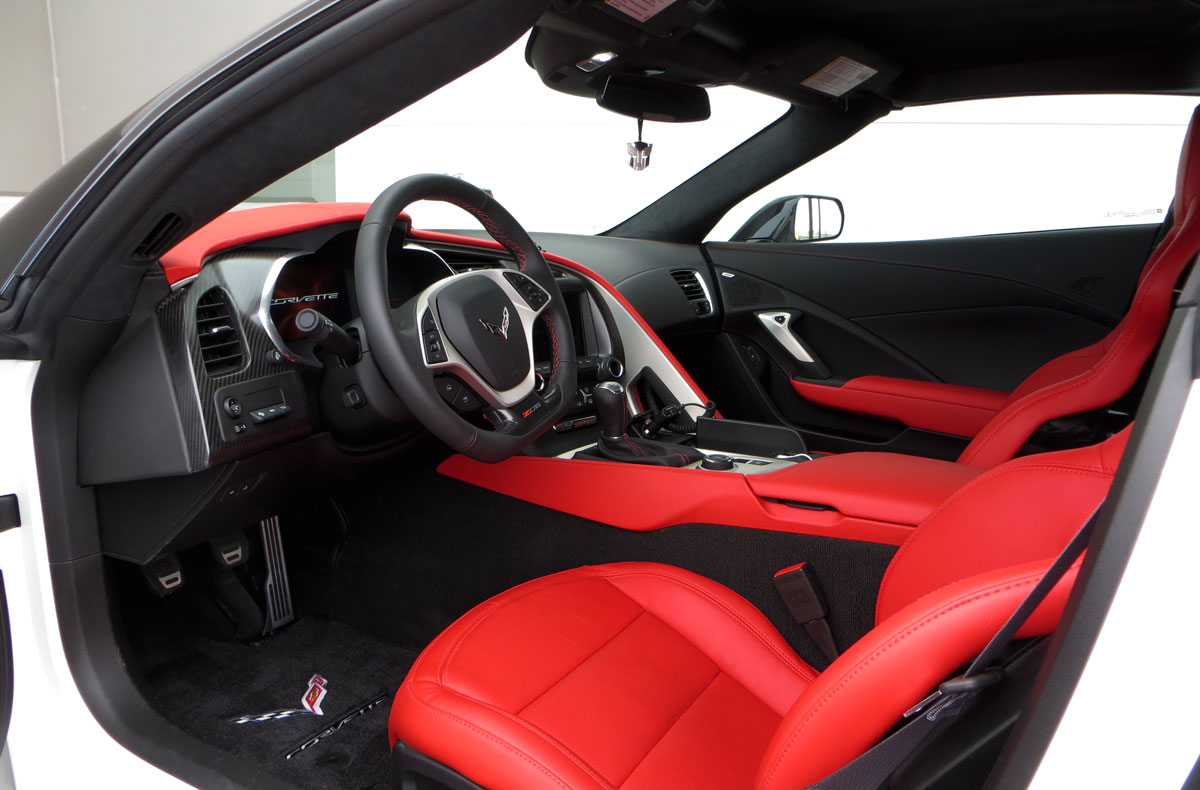
The interior is a huge step up from the C6. The dash has a carbon fiber surround, leather trim and door inserts, microfiber roof lining and a refreshed feel. The red and black interior mix on my car is just right (for me) and the red is gorgeous. I appreciate the little touches like LED map lighting, the multi-colored HUD and the secret compartment behind the stereo screen. People overused the word “driver-centric” when talking about the C7 but I don’t know how else to describe it. Nearly all of the interior focuses on the driver’s interaction and experience with the car. The seats and interior are comfortable but it does feel like headroom and legroom are diminished. I’m most surprised about the headroom- I don’t recall an issue on the C6. And the 911 has a ton of headroom with a sunroof.

2015-z06-lt4-engine

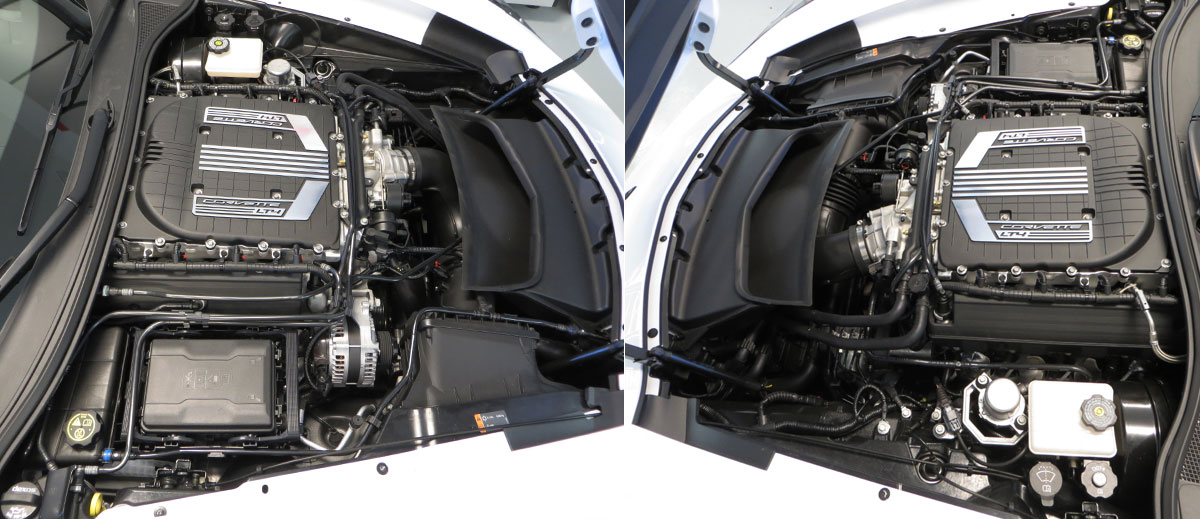
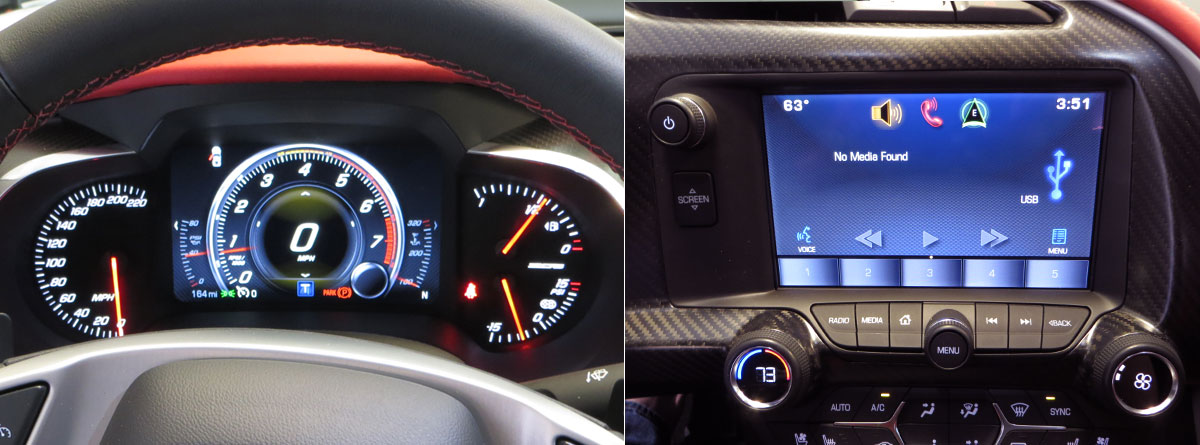
The technology in this car is amazing. Most of the “help you drive better” features I can’t really get a feel for yet but the ride control selections are great. The digital dash is a nice addition (if not a little over the top). Want to change the way your display looks? No problem. You can tap into a ton of the car’s systems and display real time data. You’ve even got an option to change the way your car’s exhaust sounds right from the headunit. You also get a PDR (performance data recorder) that allows you to record video while you drive. No more need for a dash cam! The system can time your 0-60, quarter miles and even track events. Valet mode records events and locks your car down when someone else is at the wheel. There’s just a ton of stuff here and I’m stoked to play with it.

The interface is well laid out (for both the dash and stereo) but the system has a few glitches (I put up a post on www.corvetteforum.com – so far it appears no one else is having my issues). The biggest “problem” I have is that voice recognition doesn’t seem to work on my phone anymore (it was working). Frustrating but not the end of the world.

dash-radio-2015-z06-corvette

The Bose stereo is one of the better stock systems I’ve heard. That’s not to say it’s great but it’s on the verge of being good enough not to mess with. Plenty of volume. The base, although a little boomy, is more substantial than you’d usually find. The highs lack some detail, but the system seems well balanced and nothing is piercing or painful when listening. I wish there were more EQ options but overall it’s enjoyable.

Thus far I am very impressed with how the Z06 drives (again keeping in mind that I’m putting around like an old man). Steering and handling is tight and responsive. The car feels well planted to the road where my old C6 felt a little sloppy (and I’ll be very curious to see how the car compares to my old 911). Braking with the Z07 carbon ceramics seems exceptional too. The transmission seems good- shifting is nice and crisp and and the clutch pressure is okay (it could be a little tighter). I’m not sold on seven gears yet either. I don’t know if I’ll end up tracking my car at all but I’ll bet it would be a blast.

It’s not a perfect car, of course. The aforementioned stereo and lack of cabin space is worth noting. Turning at low speeds produces a lot of wheel chatter (the car comes with a tag explaining it’s normal but it seems excessive to me). The Michelin Pilot Super Sport Cup tires are super sticky and pick up every little piece of road gravel (these are not the tires I would have picked for daily driving). I realize this isn’t a luxury car and while tolerable cabin noise seems excessive as well. Minor gripes so far.

2015-corvette-c7-z06-exteriorright-jpg

I have noticed the C7 Z06 seems like it’s taking a bit of a beating in recent reviews and comparison tests (i.e. versus the Viper, Hellcat, GT-R, Porsche, etc). Anyone who knows me can attest that my relationship with cars has been tumultuous and so seeing the bad press causes me a little worry. Many people point to a potential “heat soak” issue or overly conservative tuning as part of the problem. I will base my opinions of the car on my experiences but I’ll be curious to see if the situation ends up affecting me. What I’d like the car to be is a comfortable cruiser, potential daily driver and a weekend track warrior.

2015-corvette-c7-z06-exterior-side-2

Negative press aside I think the C7 Z06 actually represents a great value. When you compare it to the Porsche 911, the GT-R Nismo or even a Viper it’s downright inexpensive, And the amount of available features surpass even some of the most expensive model variations other manufacturers offer. So far so good. Just a few hundred miles to go and I’ll see what she can really do.

I’m obviously not a videographer but I’ll call it a day with a quick walk-around of my car:

Corvette C7 Z06 Splash Guards

Based on my experience Utah roads are not kind to cars. And this time of year dirt, rocks and salt abound. In an effort to prevent inevitable paint damage I installed the available GM splash guards onto my car. The GM part numbers are 22935635 (front) and 22935639 (rear). I’m not sure why parts like these aren’t standard- they look great (to me, anyway) and I’m certain they will help prevent rock chips. My local dealer happened to have these in stock but they can be ordered from any store that sells GM parts.

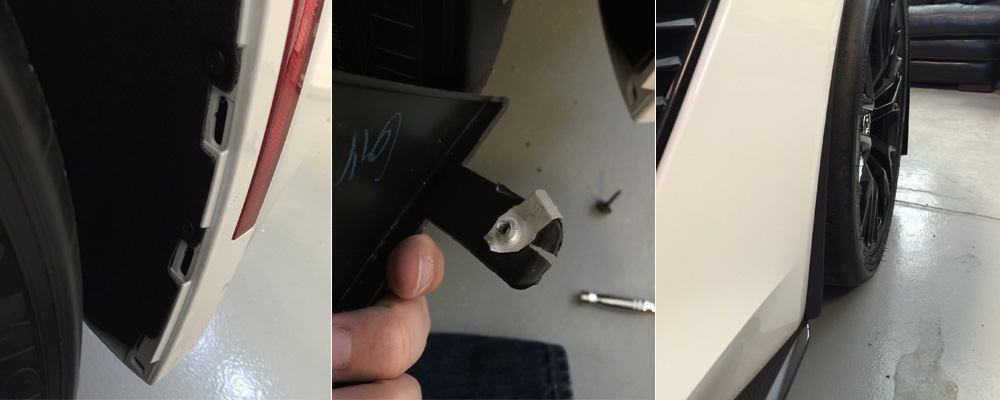
Installation is super easy as these guards replace the ones already on the car. You need a socket wrench with a 7mm bit, 15 minutes and a flashlight is helpful. The installation process is the roughly same for the front and back. Remove the 7mm bolt that holds the original guard into place. There are five tension clips that secure it to the car. Gently pull the old part out starting the top.

splash-guards-c7-corvette-z06-1

On the rear guard transfer the clip nut to your new guard (the orientation of the clip doesn’t really matter as long as it’s centered- this is how mine looked when I removed the original part). When installing the new part note that there is a small tab that needs to go into the wheel well liner. Then simply align the push clips with the body and press them into place. Finish by screwing in the 7mm bolt.

splash-guards-c7-corvette-z06-2

At the widest point the splash guards add about an additional inch of protection. A must for people who live in a place like Utah!

Carbon Fiber License Plate Frame

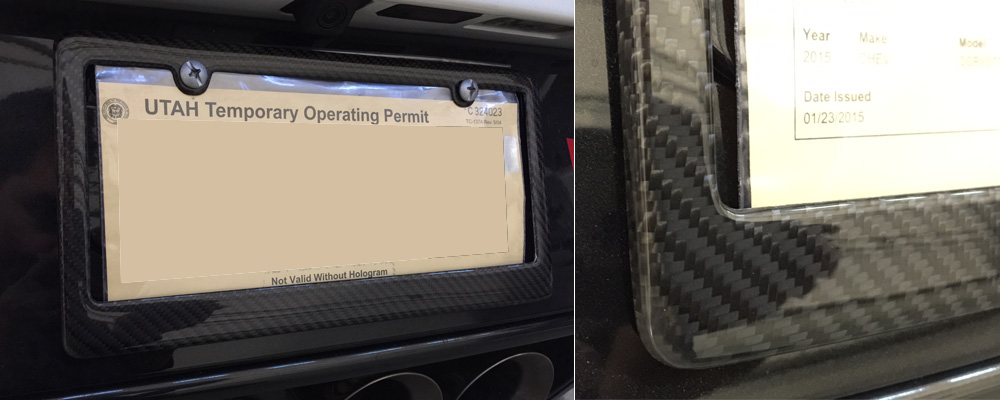
If you were able to order the CFV option then your C7 Z06 has a lot of visible carbon fiber and it looks good- really good. If you’re like me you start thinking that more carbon fiber would look even better! Rear diffuser, side mirrors, spoiler, brake vents…the list is endless. All in good time (APR Performance has some great looking parts coming). For now I figured my big splurge would be a carbon fiber license plate frame. There are a few online shops that sell “real” carbon fiber frames for $40-$80 but after shopping around I settled on one from lexan123 (eBay) for $18 shipped.

carbon-fibber-license-plate-frame

Not bad at all! It’s advertised as and definitely is “real” carbon fiber. The molding is good (not perfect) and the weave is fairly even. It looks great on the car against the black diffuser. For $18 I don’t think you could do much better .

Update: When I got the actual plate I had to cut off about 1/4″ from all sides of the plate to make it fit inside this frame. So… something to be aware of.


The 2015 Z06 – Looking Good and Available Now!

The new 2015 Z06 is finally available (customers have started getting their orders as of a week ago)!  Availability doesn’t seem as limited as I’d imagined and some dealers have started putting them on eBay. I have to admit this one caught my eye: corvette-z06-white-red

I love the white and red interior / exterior combo. And the black accents really work for me. Very nice. This particular dealer has the car priced way over the MSRP. Part of me understands the desire to make a few extra bucks but I also feel like it’s price gouging. I would never pay anything over the suggested retail price just to bypass a few weeks (or months) of waiting. Shady business practices aside I love how this car looks- it pushes all of my buttons. It’s fun to see pictures of ready to buy production Corvettes.

Speculated availability on these cars suggested they were going to be hard to come by. However, after poking around a bit, it appears that several local dealers have Z06 models in stock (or will shortly); Their websites are a little unclear on what’s available. If they do have access to a Z06, I’m a little surprised that I didn’t hear from any of them. Shortly after the new Z06 was announced I visited the two closest dealers to me in person to see if I could secure one. At one dealer the manager told me “I could order you a Z06 but I’d never get it.” Regardless I left my phone number and contact info with several sales people. I did the same thing at Another dealership as well. Later I tried several online chats to see if anyone was keping a list of people who were interested in the Z06 (one dealer was extremely rude). I sent several emails as well. Eventually I  heard back from a dealer that I emailed (I had bought a car from them before) but was told it would be about a year before they could order a car. All things considered it was a little disappointing. If (when?) I decide to make a move I guess no one local is getting my business. Note: The Z06 is not the car I mentioned trying to buy in another post. 

I also spent some time looking online at out of state options. From what I can tell getting a 2015 Z06 at MSRP shouldn’t be too difficult. In fact, I recently talked with a dealer in Chicago who will have an identical car to the eBay listing I mention for sale at MSRP (the only catch is a short wait). That might just be too good to pass up. If you’re looking for some good leads you can try stringrayforums.com. They have quite a few supporting dealers and someone always seems to know where to find a car or two. Be careful as you shop- there’s no reason to get gouged or be subjected to disinterest or apathy.

And now I will continue my Corvette wanderlust.


Raptor JL Audio Upgrades

I felt reasonably pleased with the Sony stereo that came with my Raptor (granted, expectations were low) but the stock sub wasn’t cutting it. First I tried a modification that involved filling the sub enclosure with Poly-Fil. While it certainly helped a bit it wasn’t enough. I looked around for more options and eventually decided I’d have to do an aftermarket sub. Behold!
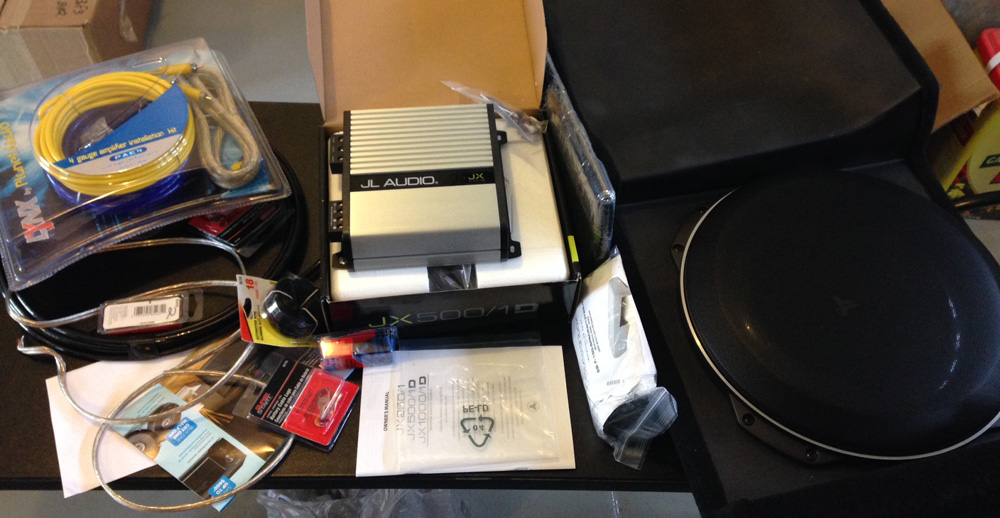
ford-raptor-subwoofer-install

After doing some research I was pretty confident it was a DIY job. Various forum posts suggested install time would be a couple of hours. However it took me much longer (I’m a little obsessive and I seemed to run into a lot of hiccups with this project). There are some good online resources showing how to add an aftermarket amp and sub (like this one) so I won’t go into too much detail regarding the actual install. But I will break down what I got and how well it works.

JL Audio Stealthbox w/ a 13″ TW5v2-2 : I really wanted something “plug and play” and JL Audio’s stealth box fit the bill. The 13″ sub was a little bigger than I wanted as my preference is nice tight bass (I’ve always been a 10″ sub man), but overall it sounds very good, especially given how shallow it is. Mounting was a little tricky (I had to have my wife stand on the box while I screwed it into the floor mounted brackets) but the overall fit is excellent and it looks fantastic.

L Audio JX 500/1 &  RBC-1 Remote : Small, straightforward and willing to accept hi-level inputs (the signal from the sub wires). I had a JX in my Camaro and it was perfect so I went with one again. I left the frequency filter at 200hz working off the assumption that the headunit is providing a filtered signal already- seems to work well. A remote is important when your stereo doesn’t have an independent sub volume (I think on the JX series the RBC-1 allows you to control the gain). I mounted my control knob behind my shifter (a ridiculously difficult wire run that required the disassembly of the center console).  While installing the RBC some of the threads on the remote broke off which was aggravating. I’m glad the remote is a two-piece design so I can replace it later.

AudioControl LC2i : In the end I decided to bypass this. I was excited to use it to turn on the amp, but I ended up just tapping into an accessory circuit wire. Processing your audio signal more times than you have to can’t help so I was just as happy not to use it.

Planet Audio Pak4 Sub Kit : Ehhh. I only needed the positive power cable, remote turn-on wire and the fuse holder (buying the kit was cheaper than buying them separately). It’s good enough, but I would get a different (nicer) kit if I did it again.
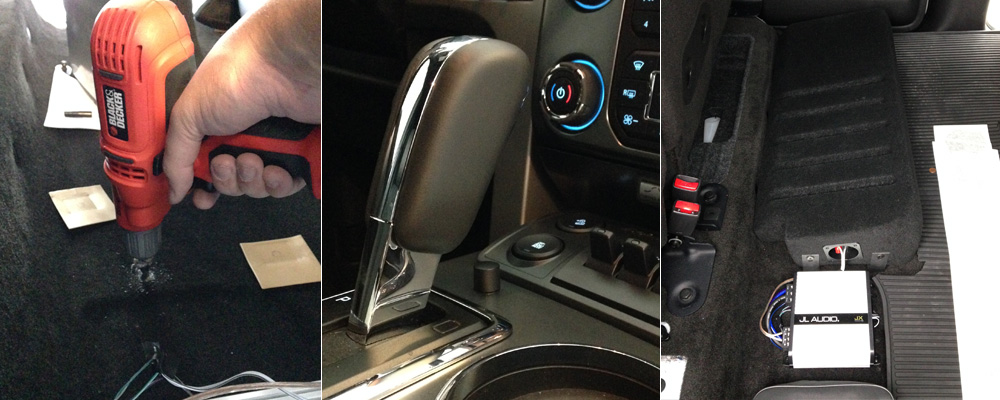
sub-amp-install-nov-204

Overall things went smoothly (although I ran into some funny hiccups- I’ll mention some of them below and maybe someone else can be spared). The worst part for me was drilling through the truck’s carpet, pad and chassis- there was no turning back at that point! I was pretty meticulous about hiding all the wires and running them in the right spots so that probably contributed to the project’s duration. There is no static when the radio is off (like in my Tacoma), no popping noises (when shutting off the car), no alternator whine and everything works just like it’s supposed to.

After everything was installed and adjusted it felt like the mids and highs were a bit flat and muddy. The volume seemed okay, but nothing I did seemed to fix the washed out sound. Some people seem vehemently against the practice but I decided to replace the speakers and run them off the of the stock Ford amp. Another round of JL Audio with some Dynamat for good measure.
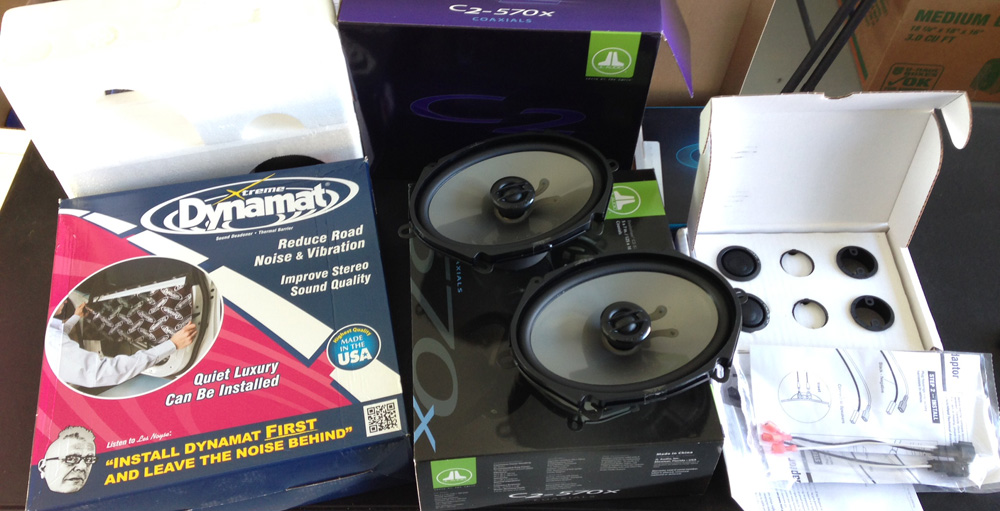
speaker-install-round-2

JL Audio C5075ct: After doing of lot of research I decided against component speakers. Since there’s no simple way to run new speaker wire from the door to the cabin I wasn’t sure how I’d use the crossover (the C6075ct’s have an inline crossover) and I was worried about power requirements of most of the component sets I looked at. These JL tweeters have nice clear detail that was simply missing from the stock tweeters. There was some slight sibilance that I combated by pointing the tweeters toward the dash. Overall they are an amazing upgrade that really brightens the sound up.

JL Audio C2-570X: I bought two sets of these thinking I’d use them in the front and back. In retrospect that was a dumb plan. The C2-570X’s sound great in the back- just the right amount of fill and volume. Sadly in the front the speakers sounded harsh and tinny; they just didn’t produce the mid and low ranges with enough oomph and the extra tweeter was overkill (I would have cut the power to the tweeter if the woofer had sounded okay). I ended up pulling the C2-570X’s out and reinstalling the stock woofer speakers. So much better. The Ford / Sony speakers are not junk by any means and, in my opinion, the woofers sound good with the JL Tweeters (mids aren’t quite right but the highs really compensate). I should have tested things more carefully while doing the install. Lesson learned.
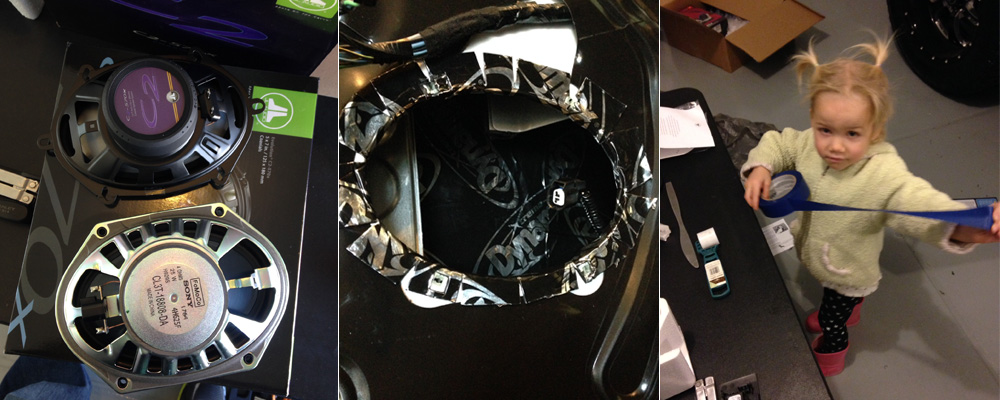
speaking-install-nov-2014

As I put the speakers in I filled the back of the doors with Dynamat and used it to create a cradle. The Raptor doors are covered by thick black plastic so I didn’t end up using the Dynamat as extensively as anticipated. Does it help? I can’t say for sure- it definitely eliminates the hollow sound when knocking on the door. Mostly I just feel cool that I have some Dynamat in my truck.

And check out my cute little helper! She assisted with unpacking the goodies, poked tools into every opening she could find, played with tape, the Dynamat, ran off with my wires and even helped me test and tweak my music (“That sounds good, Daddy?”). I couldn’t have done it without her :).

I would say the with all the modifications the sound is vastly improved. At rest and in motion music (and bass) is plenty loud and the level of clarity and detail is much higher. There is still some distortion at high volumes and I’m not 100% certain the sub is getting a full range signal. Nevertheless I’m pleased with how this stereo has turned out. Each time I have hopped into my truck I’ve thought “Hey, this is pretty good!” One day I will probably go another round (4 or 5 channel amp, something like JL Audio’s Clean Sweep and some better components / woofers) but I don’t feel like there’s any hurry. And given how integrated head units have become with vehicle systems my preference is to keep things as stock as possible.

Install Adventures: 

Before bolting the the JL Audio Stealth Box down I decided to test it out. I kept hearing a whistling noise. I finally realized it was coming from the holes in the sub enclosure where the mounting screws would eventually go.

And then I kept hearing a high pitched whine /  squealing noise. No matter where I looked I could hear the noise but I couldn’t find it. It took me a few minutes to realize the sound was coming from my flashlight.
When I initially hooked everything up the amp didn’t come on- it looked like it was DOA. My multimeter is packed in a box somewhere and I haven’t found it yet (we recently moved) but I did some testing and was able to determine the amp was fine. Why was there no power? It was a bad ground. The bolt where I’d attached my ground wire was connected to the chassis but it turned out that the receiving nut had a plastic cover that completely isolated it from the metal of the chassis. Geez. Always check your ground.
When I went to put the interior panels back onto the rear doors I discovered that the bolts the hold the panel onto the metal frame had nowhere to screw into. The clip they were supposed to go into had fallen off on both doors. The only reason I even realized there was a clip is because one of them stuck to the magnet of a speaker I removed.

After hooking everything up I reattached the battery cable and fired up the stereo. All I could hear was a static buzz! I thought I’d hooked something up wrong. It turns out that the radio defaults to an AM channel with no signal. Oh boy.

Altogether I would rate this as a fairly straightforward install (especially compared to some of the stuff I’ve done). It seemed like a lot of little stuff went wrong and things took longer than they should have. I completed the install over several days but all told I’m guessing I put in about ten hours. To reiterate though: absolutely worth it.